There is a specific moment where microcontroller projects stop feeling like toys. For me it is the first time you type an IP address into your phone, sitting on your own couch, and a number your own solder joints produced appears on the screen. A Wi-Fi temperature dashboard is the cheapest way to buy that moment.
It is also a more honest beginner project than “build a robot.” There is one sensor, a handful of numbers, and a web page. Nothing in it is hard by accident — every hard part is hard for a reason worth understanding.
What you are actually building
Strip away the word “dashboard” and the scope is small: the ESP32 joins your home Wi-Fi, your router hands it an IP address, and it runs a tiny web server on port 80. You open that IP in any browser on the same network and get a page showing the current reading, refreshing itself without you touching anything. That is the whole project. Everything else — charts, a second sensor outside, a local display — is an extension of those three facts.
An Uno cannot do this, and that is the point
An Arduino Uno has no radio. To get one online you bolt on an Ethernet shield or an ESP8266 module and spend your evening on the seam between two boards instead of on your project. The ESP32 puts 2.4 GHz Wi-Fi and Bluetooth on the same die as two processor cores, and it programs through the same Arduino IDE workflow you already know. If you are still deciding between platforms generally, we covered that ground in Arduino vs. Raspberry Pi and in our ESP32 dev board roundup.
One thing to internalize before you wire anything: the ESP32 is a 3.3 volt part. Its GPIO pins are not rated for the 5 volt signals an Uno throws around, and feeding one 5 volts is a real way to kill a board that was working five minutes ago. If that distinction is new to you, read 5V vs. 3.3V logic levels first — it is twenty minutes that saves boards.
This post contains affiliate links. If you buy through them, this site earns a commission at no extra cost to you.
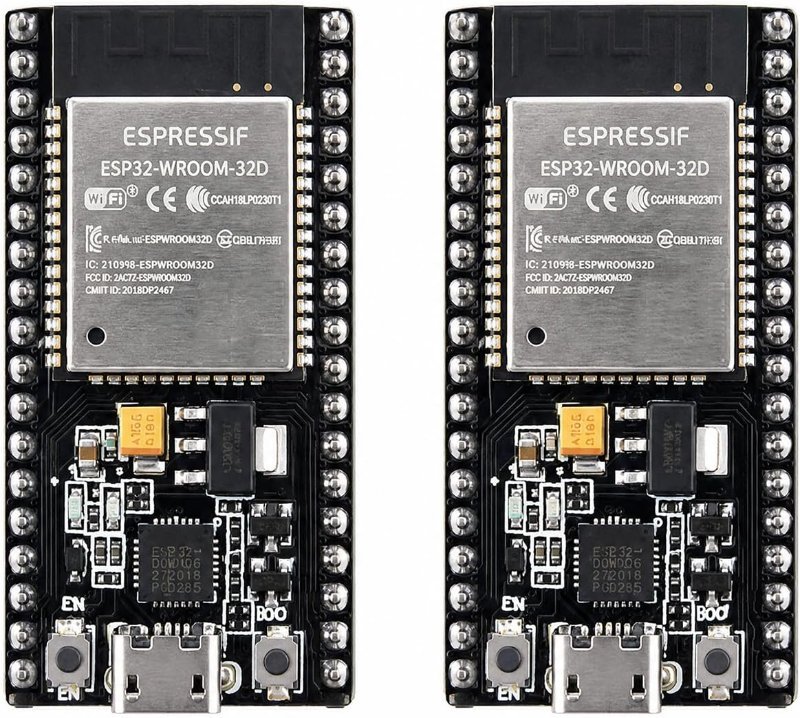
For the board itself, the 38-pin ESP-WROOM-32 dev boards are the right default. They break out every usable pin to a header, they take USB power and programming over one cable, and they come in pairs for about what one name-brand board costs — which matters here, because the natural next step after one dashboard node is a second one in another room.
Full pin breakout, onboard USB-to-serial, and Wi-Fi plus Bluetooth on the chip. Two boards means your second room is already funded.
Check Price on Amazon →The sensor is the decision that actually matters
Most tutorials hand you a DHT22 and move on. It works, but the BME280 is the better buy for a dashboard and it is not much more money. Adafruit rates their BME280 breakout at ±1.0 °C on temperature, ±3% on relative humidity, and ±1 hPa on barometric pressure, and the part speaks either I2C or SPI.
Pressure is the sleeper feature. Temperature on a chart is pleasant; a falling barometer is the single most useful cheap weather signal you can put in front of yourself, and it costs you nothing extra because the sensor already measures it. The other practical advantage is that the BME280 does not need the fussy fixed sampling interval a DHT-series sensor does — you can poll it as fast as your dashboard refreshes.
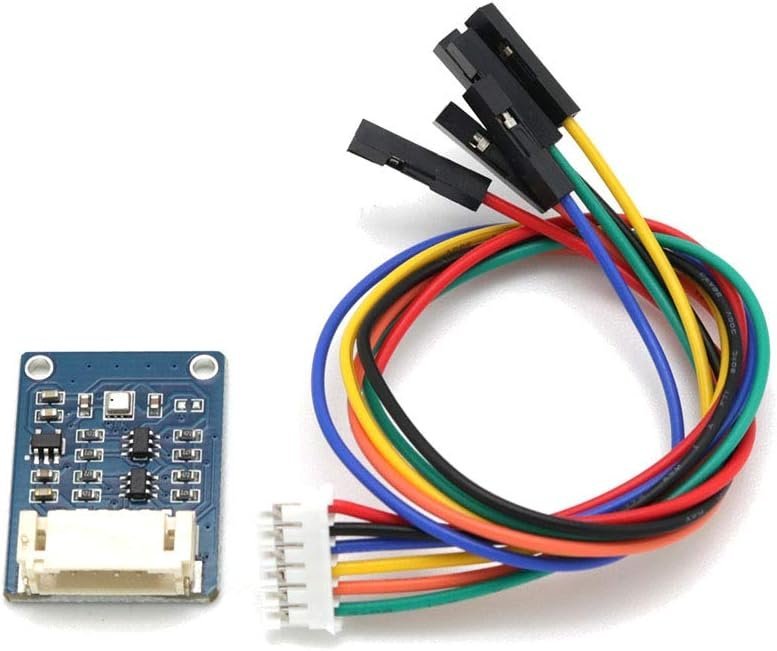
Three measurements over two wires. The pressure channel is what turns a thermometer into something that actually predicts weather.
Check Price on Amazon →Wiring: four jumpers, two of which are data
BME280 module      ESP32 dev board
-------------      ----------------
VIN / VCC    ->    3V3
GND          ->    GND
SCL          ->    GPIO 22   (I2C clock)
SDA          ->    GPIO 21   (I2C data)
GPIO 21 and 22 are the default I2C pins on a standard ESP32 dev board, which is why nearly every tutorial uses them. I2C itself is worth one paragraph of explanation if it is new: instead of one wire per device, every chip shares the same clock line and the same data line, and each one listens for its own numeric address. That is how you can bolt a display, a sensor, and a real-time clock onto two wires without running out of pins.
The address is also the thing that will waste your first hour. BME280 breakouts answer at either 0x76 or 0x77 depending on the board — Adafruit’s own breakout defaults to 0x77, while many of the cheaper GY-style modules default to 0x76. Guess wrong and bme.begin() returns false, which looks exactly like a dead sensor or a cold solder joint. Try the other address before you suspect your wiring. If it still will not answer, our guide on I2C devices that do not show up on the scanner walks the rest of the checklist.
On the software side you need two libraries from the Library Manager: Adafruit BME280 Library and Adafruit Unified Sensor. The second one is a dependency people forget, and its absence produces a compile error that does not mention the sensor at all.
Getting it on your network
The Wi-Fi part is four lines and one habit. Call WiFi.mode(WIFI_STA) explicitly — station mode means “join an existing network,” as opposed to access-point mode where the ESP32 creates its own. Then WiFi.begin(ssid, password), spin until WiFi.status() reports WL_CONNECTED, and print WiFi.localIP() to the Serial Monitor. That printed address is your dashboard.
#include <WiFi.h>
#include <WebServer.h>
#include <Adafruit_BME280.h>

Adafruit_BME280 bme;
WebServer server(80);

void setup() {
  Serial.begin(115200);
  bme.begin(0x76);                  // try 0x77 if this returns false

  WiFi.mode(WIFI_STA);
  WiFi.begin(ssid, password);
  while (WiFi.status() != WL_CONNECTED) delay(500);
  Serial.println(WiFi.localIP());   // <-- your dashboard address

  server.on("/temperature", []() {
    server.send(200, "text/plain", String(bme.readTemperature()));
  });
  server.begin();
}

void loop() { server.handleClient(); }
One practical annoyance: DHCP can hand your board a different address after a power cut, and then your bookmark is dead. Set a DHCP reservation for the ESP32’s MAC address in your router and the problem disappears permanently.
Three ways to push live numbers to the page — pick one
This is the part that separates a dashboard from a page you have to keep reloading, and there are exactly three approaches in common use.
- HTTP polling. The browser asks for
/temperatureevery few seconds on asetIntervaland drops the reply into the page. Crude, and the one I would start with — there is no connection state to lose, so nothing to debug when it breaks. - Server-Sent Events. The server holds one long-lived connection open and pushes values down it; the browser listens with
EventSource. One-directional, which is all a dashboard ever needs, and much lighter than polling. - WebSockets. A genuine two-way channel. Overkill for reading a thermometer, correct the moment you want to send something back — a setpoint, a calibration offset, a relay toggle.
Polling works fine with WebServer.h, which ships with the ESP32 Arduino core and needs no extra install. For Server-Sent Events or WebSockets you want ESPAsyncWebServer plus its companion AsyncTCP — use the actively maintained ESP32Async versions, since the older abandoned forks are the source of a lot of stale advice.
Where the web page itself lives
You have two options and they are not equal. The quick one is to build the HTML as a C++ string inside your request handler, which is tolerable for ten lines and miserable for a hundred — every quote mark needs escaping and your editor cannot help you. The better option is to put index.html, style.css and script.js in a data folder and upload them to the ESP32’s own flash filesystem with LittleFS. Your page becomes a real file you edit in a real editor, and the sketch just serves it. Learn this early; it is the difference between a project you extend and one you abandon.
Charts, once one number is not enough
Highcharts is the usual choice, loaded from its CDN with one script tag, and a reasonable pattern is to append a point every 30 seconds and cap the series at around 40 points so the browser does not slowly accumulate a year of memory. Be aware of the tradeoff though: a CDN-loaded chart library means your supposedly local dashboard quietly depends on internet access, not just your LAN. If that bothers you — and it should bother you a little — serve a local copy of the library from LittleFS instead.
The other honest limitation: the ESP32 has no battery-backed clock, so after a reboot it has no idea what time it is and your chart’s x-axis restarts from zero. Fix that either by pulling the time over NTP once you are online, or by writing timestamped rows to storage, which we walk through in building a data logger that writes to an SD card.
Put the second sensor outside
The most interesting number on a home dashboard is not the indoor temperature. It is the difference between inside and outside, because that is the one that tells you something you could not have guessed. A BME280 on a breakout board does not belong in the weather, but a DS18B20 in a sealed stainless probe does — it is a digital sensor on a one-metre lead, it reads over a single data wire, and you can run it out a window sash or down into soil without worrying about it. If you want the full outdoor build rather than one probe, our home weather station guide covers the enclosure and siting problems.
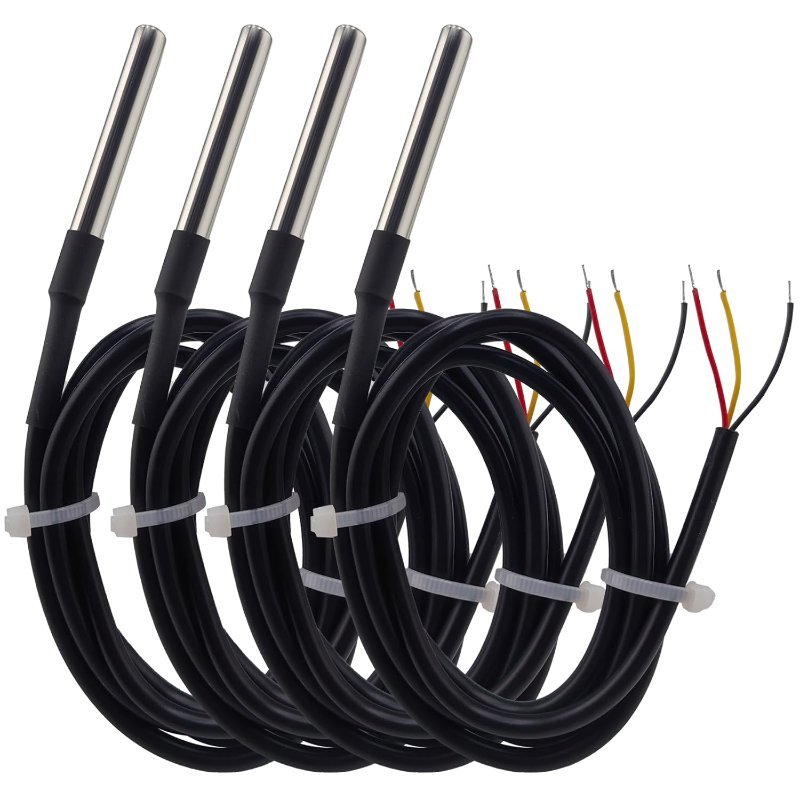
Sealed stainless tube, digital output over one wire. Four of them is enough for outside, the crawlspace, the fridge, and a spare.
Check Price on Amazon →The limitation nobody mentions up front
That IP address works on your own network and nowhere else. It is a private address your router handed out; a phone on cellular data, or a laptop at your office, cannot reach it. The fix is not to port-forward your ESP32 to the open internet — please do not put a hobby web server with no authentication on a public address. The real answer is to invert the direction: have the ESP32 push its readings out to a hosted service or an MQTT broker, and view them there. That is a genuinely different project with its own decisions, and it is worth knowing the boundary exists before you promise someone at work a link.
None of which takes away from the version you can finish tonight. One board, one sensor, four jumpers, and a number on a page. The first time you check your own house temperature from the kitchen, on a web server you wrote, the fifteen dollars will seem like a rounding error.