This is the full parts list and build order for a working Arduino home weather station — temperature, humidity, and a calculated dew point, readable on your computer’s Serial Monitor with a clear path to adding a display later. Budget about an hour for the build and about $35-40 in parts if you’re starting from nothing.
Full Parts List
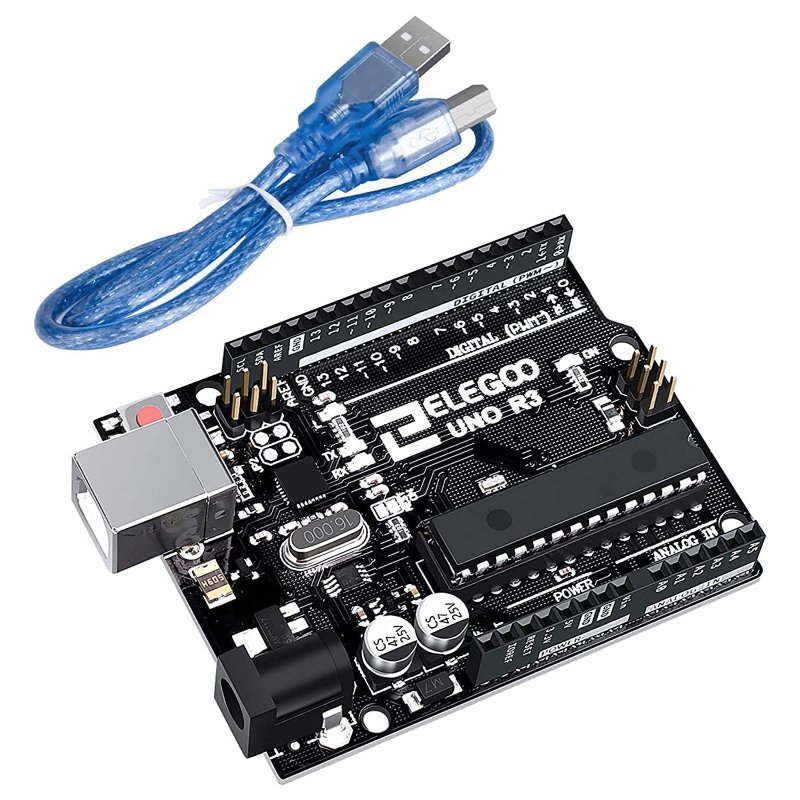
You need four things: an Arduino Uno (or compatible board), a DHT22 temperature/humidity sensor, a breadboard with jumper wires (most starter kits include both), and a USB cable that actually carries data — worth calling out specifically since a surprising number of cheap cables are charge-only, missing the internal data wires entirely, and will leave your board invisible to your computer.
This post contains affiliate links. If you buy through them, this site earns a commission at no extra cost to you.
Any Uno-compatible board works. This is our default recommendation for reliability and tutorial support.
Check Price on Amazon →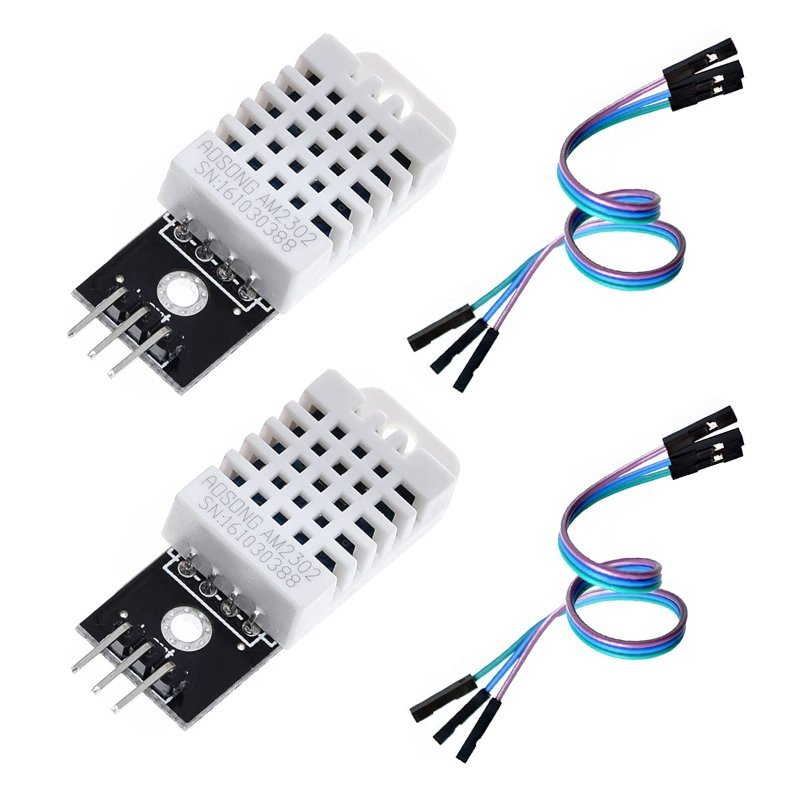
More accurate than the common DHT11 — worth the small price difference for a build meant to give you real readings.
Check Price on Amazon →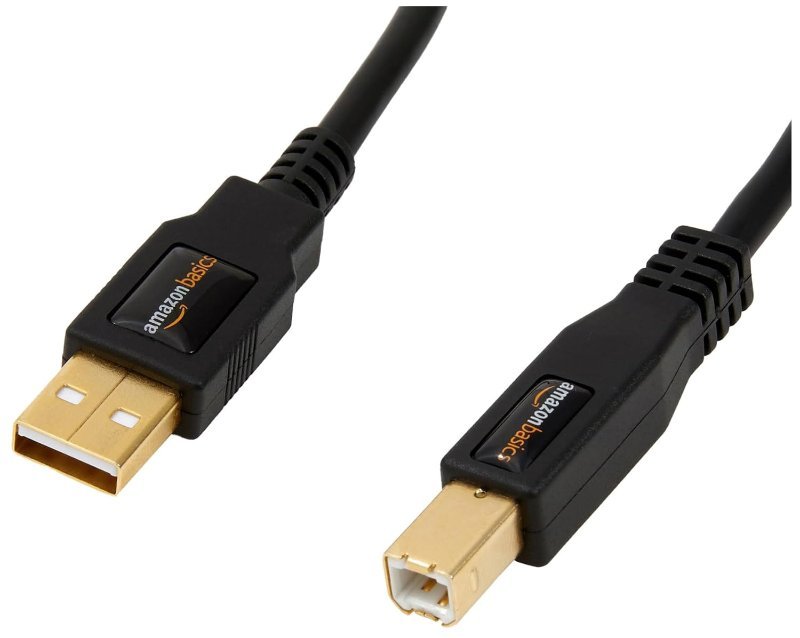
A verified data cable. Skip the troubleshooting session caused by a charge-only cable you didn’t know you had.
Check Price on Amazon →Wiring
Three connections: DHT22 VCC to the Uno’s 5V pin, DHT22 GND to any Uno GND pin, and DHT22 data (usually the middle pin) to digital pin 2. If your breakout board doesn’t already have one built in, add a 10k resistor between the VCC and data pins — this is called a pull-up resistor, and its job is to hold the data line at a known, stable HIGH voltage whenever the sensor isn’t actively pulling it LOW to send a bit. Without it, that pin would be left “floating,” picking up electrical noise and producing garbage readings, which is exactly the kind of intermittent failure that’s maddening to debug because it doesn’t fail the same way twice. Most breakout modules from ELEGOO and HiLetgo include this resistor already soldered on, so check the board before adding a redundant one.
The Code
Install the “DHT sensor library” by Adafruit through the Arduino IDE’s Library Manager (it will prompt you to also install “Adafruit Unified Sensor” — accept that too, it’s a dependency the DHT library relies on to report readings in a standard format). From there, the core loop is four steps: read humidity, read temperature, check both aren’t NaN (the sensor occasionally misses a read and returns an invalid, non-numeric result rather than a wrong number — checking for this before using the values prevents your dew point calculation from silently producing nonsense), and print both to Serial. Dew point is a short formula applied to those two readings — the Adafruit examples that ship with the library include a working version, so there’s no need to derive it yourself, though our weather station highlight post explains what the dew point number actually means once you’re reading it.
Testing It
Open the Serial Monitor at 9600 baud after uploading. You should see a new reading every 2 seconds — the DHT22’s hardware limit, so don’t try to poll it faster than that; the sensor’s internal chip simply won’t have a new measurement ready any sooner. If you see consistent NaN values, double check the data pin number in your code matches your actual wiring, and confirm the pull-up resistor is in place.
Next Steps
Once readings are stable, add a small OLED or 16×2 LCD to get a real always-on display instead of the Serial Monitor, or add an SD card module to log data over days and weeks. Both are drop-in additions to this same core circuit. If you eventually want to push readings to a phone over WiFi, that means swapping the Uno for an ESP32 — at which point read our 5V vs. 3.3V logic levels guide first, since this DHT22 wiring assumes a 5V board and needs adjustment (or a level converter) to move to a 3.3V one safely.