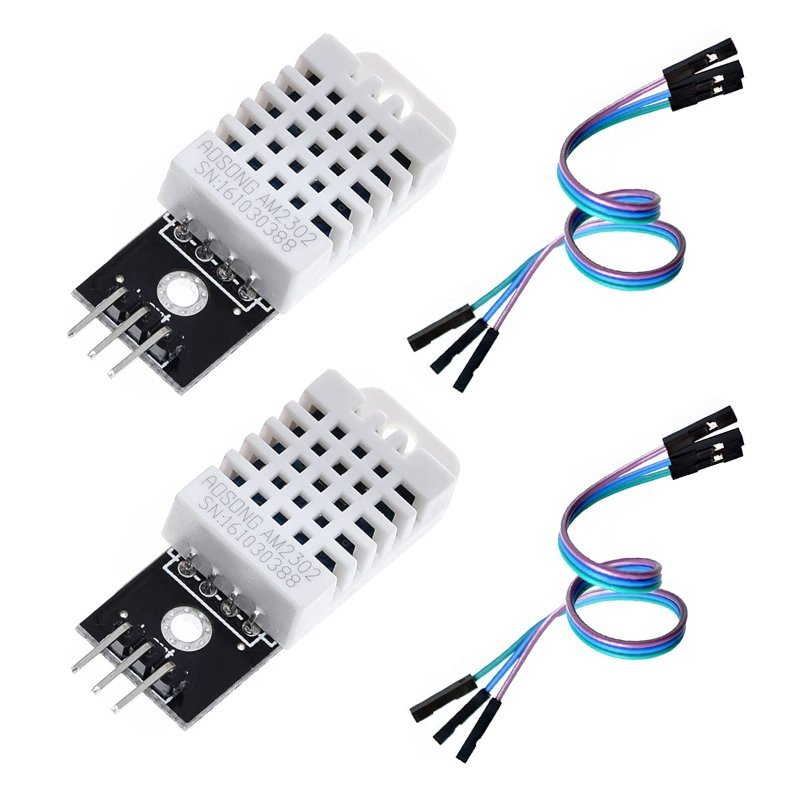
Somewhere on a maker forum, someone posted a home weather station built from an Arduino Uno, a DHT22 sensor, and a small OLED display — total parts cost under $30 — that logs temperature, humidity, and dew point to a scrolling display on a shelf. It’s a better everyday object than most $60 store-bought weather stations, and it’s worth breaking down why.
How the Sensor Actually Measures Humidity
The DHT22 measures humidity with a small capacitive sensor: two conductive plates with a moisture-absorbing material between them, whose electrical capacitance changes measurably as that material absorbs or releases water vapor from the surrounding air. The sensor’s onboard chip reads that capacitance, along with a separate thermistor for temperature, and reports both as digital values over a single data wire — which is why a DHT22 needs comparatively little wiring for what it measures, and also why it’s genuinely reading the actual air around it rather than estimating from temperature alone the way some cheaper sensors do. Commercial indoor weather stations are usually a single cheap thermistor behind plastic, updating every few minutes, with humidity readings that drift within a year — a real DHT22 gets you sensor specs (±0.5°C, ±2-5% RH) that outperform most consumer units at this price point.
This post contains affiliate links. If you buy through them, this site earns a commission at no extra cost to you.
The accuracy upgrade over the far more common (and far less accurate) DHT11. Worth the few extra dollars for a build meant to give you real readings.
Check Price on Amazon →What “Dew Point” Actually Means
Dew point is the temperature air would need to cool to before it’s fully saturated with the water vapor already in it — the point where dew starts forming. It’s a more useful comfort number than humidity percentage alone, because the same 50% relative humidity feels completely different at 60°F versus 90°F (relative humidity is relative to how much moisture that specific temperature of air can hold, which changes a lot with temperature; dew point doesn’t have that problem, since it’s an absolute measure of how much moisture is actually present). A dew point in the 50s°F reads as comfortable, while anything above the mid-60s°F starts to feel muggy regardless of what the humidity percentage says.
The Core Build
The setup is simpler than it looks: DHT22 data pin to a digital input on the Uno, a 10k pull-up resistor between data and VCC (most breakout boards already include this), and a few lines using the Adafruit DHT library to read temperature and humidity every two seconds — the sensor can’t be polled faster than that reliably, since each reading takes real time for the sensor’s internal chip to complete. From there it’s just a matter of what you do with the reading: print it to the Serial Monitor while prototyping, then move to an OLED or LCD display once the logic works.
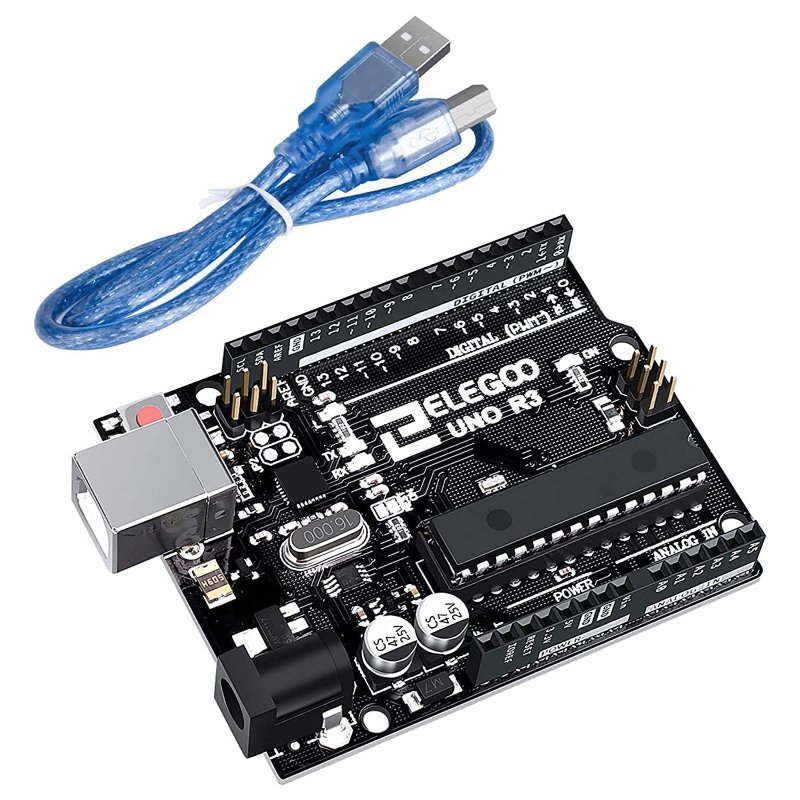
Plenty of processing headroom for this build, with the widest tutorial support if you want to extend it.
Check Price on Amazon →Where to Take It From Here
Add a small OLED for a real display instead of the Serial Monitor, add an SD card module to log readings over weeks instead of just showing the current moment, or add an ESP32 (swap the Uno entirely) to push readings to a phone app over WiFi — if you go that route, check our 5V vs. 3.3V guide first, since you’d be moving a 5V-wired sensor onto a 3.3V board. The DHT22-plus-microcontroller core stays the same no matter how far you take it.