You plug in your board, open the IDE, hit upload, and get some version of “port not found” or the board simply doesn’t show up in the Ports menu at all. Before you assume the board is dead, work through these in order — the actual cause is almost always one of the first three.
1. It’s the Cable
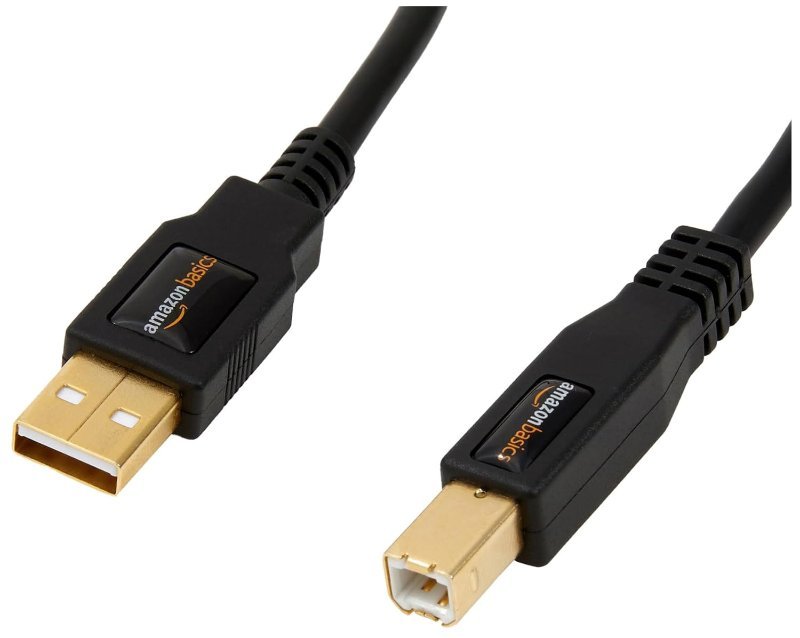
This is the single most common cause and the one people check last. A standard USB cable has four wires inside: two for power, and two — labeled D+ and D-, short for “data” — that carry the actual information back and forth between your board and your computer. A huge number of cheap USB cables are built charge-only, meaning those two data wires are simply never connected inside the cable, to save a few cents in manufacturing. Your board will get power (the LED lights up) but your computer will never see it as a device, because the connection it needs to even start that conversation doesn’t physically exist. If you’re not certain the cable you’re using has ever transferred data, swap it before doing anything else.
This post contains affiliate links. If you buy through them, this site earns a commission at no extra cost to you.
A known-good, verified data-capable cable. Keep one dedicated to your electronics bench and stop guessing which cable is the charge-only one.
Check Price on Amazon →2. Wrong or Missing Drivers
Once a cable’s data lines are actually connected, your computer’s operating system has to recognize what kind of device just showed up — a process called enumeration — which requires the right driver for whatever chip is handling USB-to-serial conversion on your board. Genuine Arduino boards use an ATmega16U2 for this and generally just work on Windows 10/11 and macOS without installing anything extra. Cheaper clones almost always use a CH340 or CH341 chip instead, which needs a separate driver install on most systems — check Device Manager (Windows) for an “unknown device” or a device with a yellow warning triangle. If you see that, search for “CH340 driver” for your OS, install it, and unplug/replug the board.
3. Wrong Board or Port Selected in the IDE
Sounds obvious, but it’s a frequent culprit: Tools → Board must match your actual hardware, and Tools → Port needs the port that appeared when you plugged the board in (unplug and replug to see which port disappears and reappears if you’re not sure which one it is). On an ESP32 board specifically, you may also need to hold the “Boot” button during the moment upload starts — check your specific board’s documentation, since this varies by manufacturer.
4. A Bad USB Port or Hub
Unpowered USB hubs and some laptop USB-C ports don’t reliably supply enough current for a board plus attached sensors. Plug directly into a rear/built-in USB-A port on a desktop, or a powered hub, before troubleshooting anything else.
5. It’s Actually Dead
If you’ve swapped the cable, installed drivers, confirmed board/port, and tried a different USB port and it still won’t enumerate at all — not even as an unknown device — the board itself may have a blown USB chip, which does happen from static discharge or a wiring mistake. At that point, a $10 board is cheaper to replace than to diagnose further.