Every beginner robot project eventually hits the same fork in the road: the thing has to move, and you have to decide what it moves on. Search for an answer and you get a shrug — “it depends on your application” — which is technically true and completely useless when you have four chassis kits open in four browser tabs.
So here is the short version, and then the reasoning. Wheels are the correct choice for roughly nine out of ten hobby robots. Tracks are correct when the floor stops behaving like a floor. Legs are correct when the walking is the project — not when you want a robot that happens to get across the room. Pick wrong and you will not find out immediately; you will find out three weeks in, when your batteries last four minutes and your robot cannot drive in a straight line.
What locomotion actually costs you
Every locomotion system spends from the same three accounts: power, control complexity, and money. Wheels are cheap in all three. Tracks spend power. Legs spend all three, hard. Nothing gets you traction or terrain capability for free — you are always trading battery life and code complexity for the ability to go somewhere a wheel cannot.
The physical concept underneath most of this is ground pressure: your robot’s weight divided by the area actually touching the ground. Four small wheels put the whole robot on four contact patches the size of a pencil eraser. A pair of tracks spreads that same weight across two long rectangles. Low ground pressure is why a tracked robot crosses carpet, gravel, and loose dirt without digging in, and why a wheeled one bogs down.
Wheels: boring, efficient, and almost always right
The standard hobby arrangement is differential drive: two independently driven wheels plus a free-spinning caster to keep the thing from tipping. Drive both wheels at the same speed and you go straight. Drive one faster and you arc. Drive them in opposite directions and the robot spins in place around its own center — a zero-radius turn, which is enormously convenient in a hallway.
Four-wheel chassis kits use skid steering instead. All four wheels are fixed straight ahead, so turning means the tires have to scrub sideways across the floor. It works, it is mechanically dead simple, and it costs you noticeably more current every time you turn. It also means a 4WD platform needs a motor driver that can handle both sides of the robot — an L298N or similar, wired so that each side’s motors are ganged together on one channel.
The underrated advantage of wheels is predictability. A wheel of known diameter that rolls without slipping tells you exactly how far you traveled — circumference times rotations. That is the entire basis of dead reckoning, and it is why almost every robot that needs to know where it is starts with wheel encoders. The moment you introduce scrub or slip, that math degrades, and every other locomotion option on this page introduces scrub or slip on purpose.
This post contains affiliate links. If you buy through them, this site earns a commission at no extra cost to you.
If you are building your first ground robot and have no specific terrain requirement, buy a plain 4WD chassis with TT gear motors and move on to the interesting part. These motors use a 1:48 plastic gearbox, spin somewhere around 200 RPM unloaded at 6V, and are the single most common motor in beginner robotics for a reason: they are cheap, they are strong enough, and every tutorial you will read assumes them. If you want the longer comparison, we went through several of these in our robot chassis kits roundup.
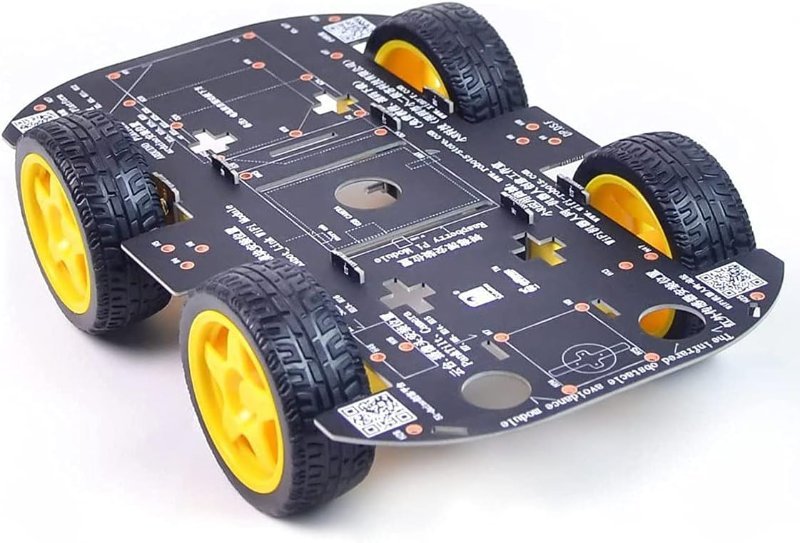
Four TT gear motors, an acrylic deck with enough mounting holes to bolt on whatever you want, and a battery holder. Skid steer, so turning is scrubby, but it will climb a door threshold and it costs less than a decent sensor. The correct default.
Check Price on Amazon →Tracks: traction you pay for in watts
Tracks are the answer to exactly one question: what if the ground is bad? Grass, gravel, sand, loose carpet, a construction site, the gap between a hardwood floor and a rug. The long contact patch means low ground pressure and a lot of rubber touching dirt at once, and a tracked platform will generally climb an obstacle up to roughly a third of its track height without drama.
What nobody mentions in the product photos is the bill. Tracks steer only by skidding — there is no such thing as a steered track on a hobby chassis — so every single turn drags the full length of both tracks sideways across the ground. That is a lot of friction. Budget meaningfully more torque than an equivalent wheeled robot: a heavily geared motor (1:48 or slower) will climb, while a fast, lightly geared one will just sit there spinning the tracks. Rolling resistance is higher even going straight, so expect shorter runtime and warmer motors.
The other quiet cost is reliability. A plastic or rubber track can derail off its sprockets if it is under-tensioned or if debris gets in, and unlike a wheel that goes flat, a thrown track immobilizes that entire side of the robot. And because the tracks scrub constantly, wheel-encoder odometry gets much less trustworthy — you cannot cleanly convert rotations into distance traveled when the contact patch is sliding.
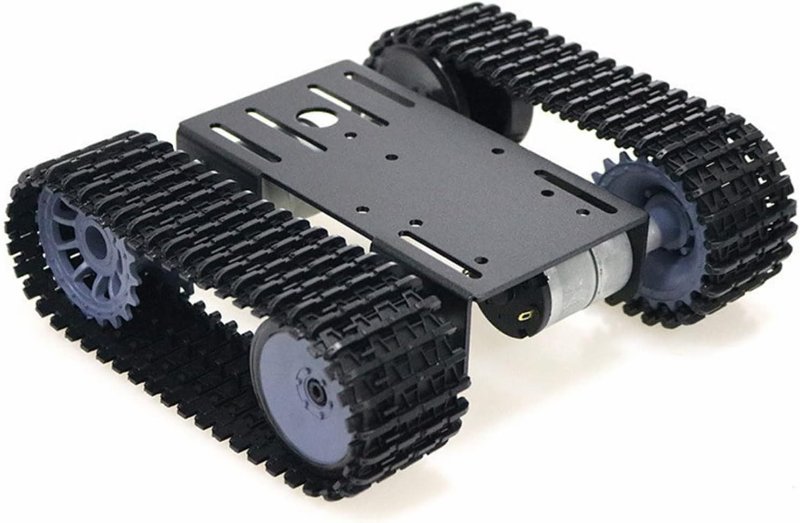
Metal frame, plastic tracks, and two high-torque geared DC motors — the important part, since underpowered motors are the usual reason a cheap tank chassis disappoints. Drives from the same two-channel motor driver you would use for a differential-drive car, so none of your existing code has to change.
Check Price on Amazon →Legs: when the walking is the whole project
Legs are the only option here that changes what kind of project you are doing. A six-legged walker typically uses three servos per leg — one for the hip swing, one to lift, one to extend — which is eighteen servos before you have added a single sensor. Getting a foot to a specific point in space means solving for those three joint angles, which is inverse kinematics, and getting the robot to move forward means sequencing those solutions into a gait. The standard one is the tripod gait: three legs (front and rear on one side, middle on the other) lift and swing while the opposite three stay planted, so the robot is always standing on a stable triangle.
Two practical walls you hit immediately. First, an Arduino Uno has six PWM-capable pins and you need eighteen channels, so a dedicated servo driver board is not optional. Second, power: eighteen micro servos can each pull several hundred milliamps under load, and the Uno’s onboard 5V regulator will brown out and reset your board long before they all move at once. Legged robots need their own servo supply, separate from logic power — see our guide to powering a robot before you wire anything.
Buy a kit for this one. Building a hexapod from a frame and a bag of servos is a legitimate mechanical engineering project, and doing that and writing gait code from scratch as your first walker is how projects end up in a drawer.
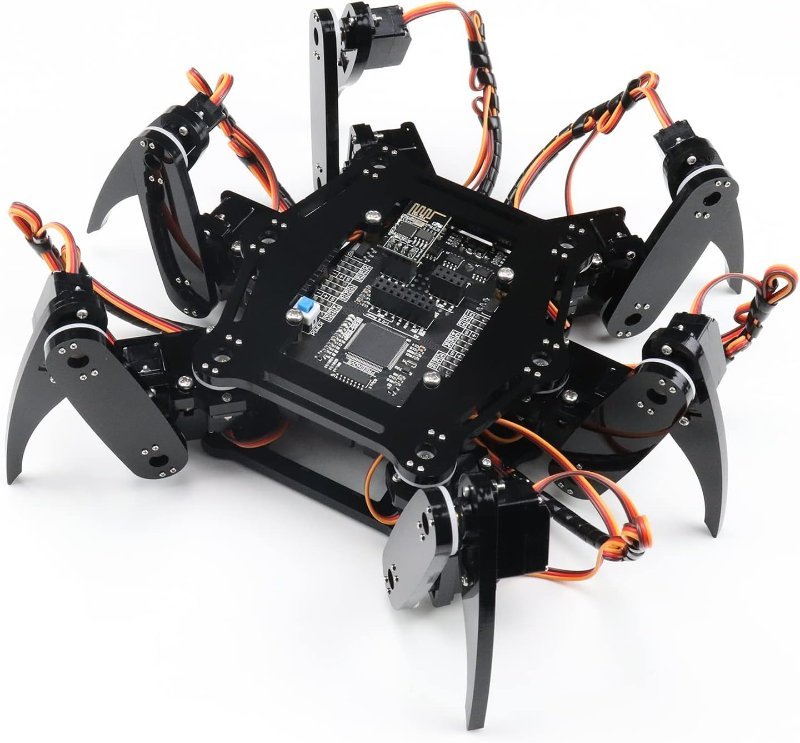
Three servos per leg, a control board that handles all eighteen channels, and — the reason to buy this rather than assemble your own — a working gait library, so you can watch it walk on day one and then go read the code that made it happen.
Check Price on Amazon →The actual decision
Strip away the enthusiasm and it comes down to three questions. Is the surface flat and hard? Wheels. Is it soft, loose, or full of small obstacles? Tracks, and accept the runtime hit. Do you want to learn kinematics and gait control? Legs — but be honest that you are choosing the locomotion as the subject, not as transport.
One more thing worth saying plainly: most first robots die of power problems, not locomotion problems. A chassis that draws more current than your battery pack can deliver will brown out the Arduino mid-turn, and the symptom — a robot that resets whenever it tries to move — looks exactly like a software bug. Whichever option you pick, size the battery for the stall current of everything on board, not the running current. Our breakdown of servos, DC motors, and steppers covers what each type actually demands.