Ask three people which battery to put in a robot and you will get three answers, all delivered with complete confidence. LiPo, because that is what drones use. NiMH, because it will not set your desk on fire. 18650, because you can pull them out of a dead laptop pack for free. Each of those is defensible, and none of them is an answer to the question that actually matters — which is not “what is the best chemistry,” but “how much current does my robot pull at the worst moment of its life.”
Start With Stall Current, Not Capacity
Two numbers describe a pack. Capacity, in milliamp-hours (mAh), tells you how long. C-rating tells you how hard. Beginners fixate on the first and get bitten by the second.
C-rating is just a multiplier on capacity: maximum continuous current in amps equals the C-rating times the capacity in amp-hours. A 2200 mAh (2.2 Ah) pack rated 50C claims 110 A continuous. Nobody should believe that number literally — C-ratings are the most inflated spec in the hobby — but the ratio between chemistries is real and large, and that is what decides this.
Now the load side. The yellow TT gearmotors in nearly every beginner chassis kit draw something like 150 mA spinning free and 1 to 1.5 A fully stalled. Four of them, all stalled against a chair leg, is around 6 A. Add a couple of SG90 servos at roughly 700 mA stall each. A two-wheel line follower peaks near 2–3 A; a four-wheel rover with a gripper can touch 6–8 A for a fraction of a second every time it hits something.
That brief peak, not the average, is the spec your battery has to survive. A pack that cannot deliver it does not fail gracefully — its voltage collapses, your board browns out, and the robot reboots mid-drive.
NiMH: Forgiving, Heavy, and Perfectly Fine for Slow Robots
Nickel-metal hydride runs 1.2 V per cell nominal, which is the first thing to internalize, because it changes your cell count. Six AA cells in series gives 7.2 V nominal and about 8.4 V fresh off the charger — a good match for an Arduino’s VIN pin. Energy density sits around 60–120 Wh/kg, roughly half of lithium, so a NiMH pack weighs about twice what an equivalent LiPo does. On a robot you are pushing around a floor, that is a real but survivable penalty.
You would still choose it for one reason: NiMH is hard to ruin. Over-discharge it and it mostly shrugs. Store it half-full, or empty, for months — fine. Thermal runaway is not part of the conversation. For a classroom robot, a robot a ten-year-old is wiring, or anything that lives in a drawer between weekend sessions, that forgiveness is worth more than the weight savings.
The historical knock on NiMH was self-discharge — you would charge a pack, come back in three weeks, and find it flat. Low-self-discharge cells solved that. Panasonic rates eneloops at roughly 70% of charge retained after ten years on a shelf, which is a different product from the NiMH packs that gave the chemistry its bad name.
This post contains affiliate links. If you buy through them, this site earns a commission at no extra cost to you.
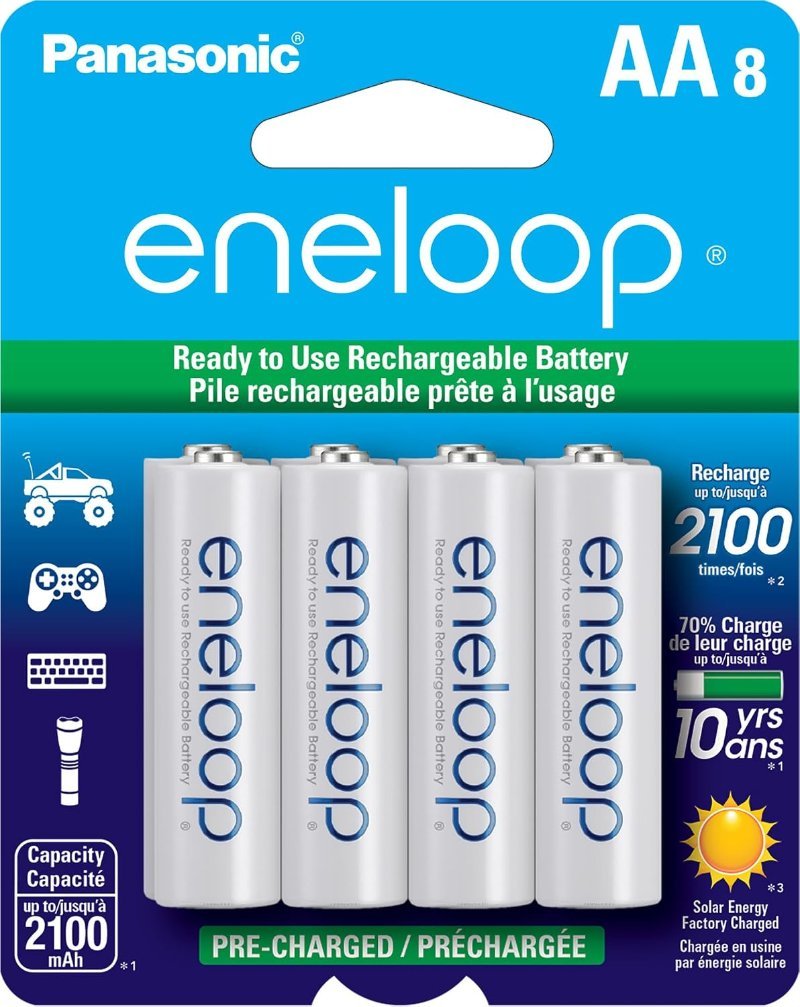
Rated 2100 charge cycles and 2000 mAh minimum, and they hold charge for years in storage. Eight cells covers a 6-cell 7.2 V holder with two spares. Buy loose AAs in a holder rather than a shrink-wrapped RC pack — you can pull them for a flashlight, and holders cost almost nothing.
Check Price on Amazon →LiPo: Flat Voltage, No Sag, Requires Respect
A lithium-polymer cell is 3.7 V nominal, 4.2 V fully charged, and should not be taken below about 3.0 V. Two in series — a “2S” pack — gives 7.4 V nominal and 8.4 V full, which lands neatly in an Arduino’s acceptable VIN range.
The headline advantage is not capacity, though. It is internal resistance. High-rate LiPo cells sit under about 2 milliohms, against roughly 12–25 milliohms for a typical 18650. Internal resistance is what converts a sudden current demand into a voltage drop, so a low-resistance pack barely flinches when four motors simultaneously ask for 5 A. This is the single reason LiPo wins on anything that drives: if your robot has ever reset itself the instant the wheels started turning, you have already met voltage sag, and a stiffer pack is the fix.
LiPo also holds its voltage flat across most of the discharge and then falls off a cliff, where NiMH slopes downward the whole way. Flat is better for a robot — your motors behave the same on minute twenty as on minute one.
The price of all that is attention. LiPo needs a proper balance charger, not a wall adapter. It wants to be stored around 3.8 V per cell rather than fully charged. And a puffed or punctured pack is a disposal problem, not a repair job. None of this is difficult, but it is not optional the way NiMH care is optional.
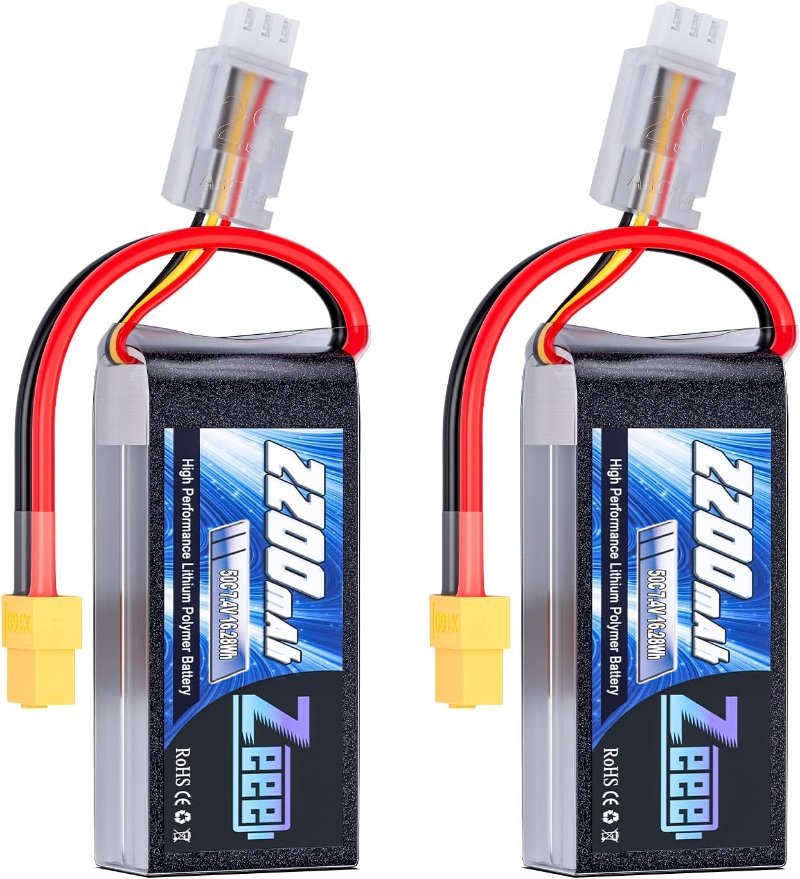
7.4 V nominal is exactly what a motor-driving Arduino robot wants, the shorty form factor fits a standard chassis plate, and 2200 mAh at a realistic fraction of its claimed 50C still clears any stall peak a hobby robot will produce. Two packs means one charging while the other drives.
Check Price on Amazon →18650: Best Runtime Per Dollar, Wrong for Stalling Motors
18650 cells are cylindrical lithium-ion — 18 mm across, 65 mm long, 3.6–3.7 V nominal, 4.2 V full. High-capacity versions reach the best energy density in this comparison, and because they are made by the hundred million for laptops and power tools, they are the cheapest watt-hour you can buy. The rigid steel can is also a genuine advantage over a soft LiPo pouch on a robot that falls off tables.
The catch is current. Most high-capacity 18650s are rated around 1–2C, so a 3000 mAh cell is good for roughly 3–6 A and no more. Dedicated high-drain cells do exist and will hand you 20 A or better, but they do it by giving up close to half their capacity, at which point you are paying LiPo prices for LiPo performance in a heavier package. Pulling 10 A from an ordinary 3500 mAh cell gets you a hot cell, a sagging rail, and a robot that resets.
So 18650 is the right call for long-runtime, low-current work: an ESP32 sensor node reporting temperature every ten minutes, a data logger, a robot that mostly sits and thinks. It is the wrong call for four gearmotors fighting a carpet.
There is a voltage problem too. A single cell is 3.7 V, which is nowhere near enough for an Arduino’s VIN pin — the onboard linear regulator needs roughly 7 V in to produce a stable 5 V out. You either series up to 2S or 3S, which means a protection board, or you use a carrier that boosts a single cell for you. For most beginners the carrier is the smarter move, and it bundles the charging circuit you would otherwise have to buy separately. If you want the broader picture of how pack voltage relates to what your board needs, we walked through it in battery vs. USB vs. wall adapter.
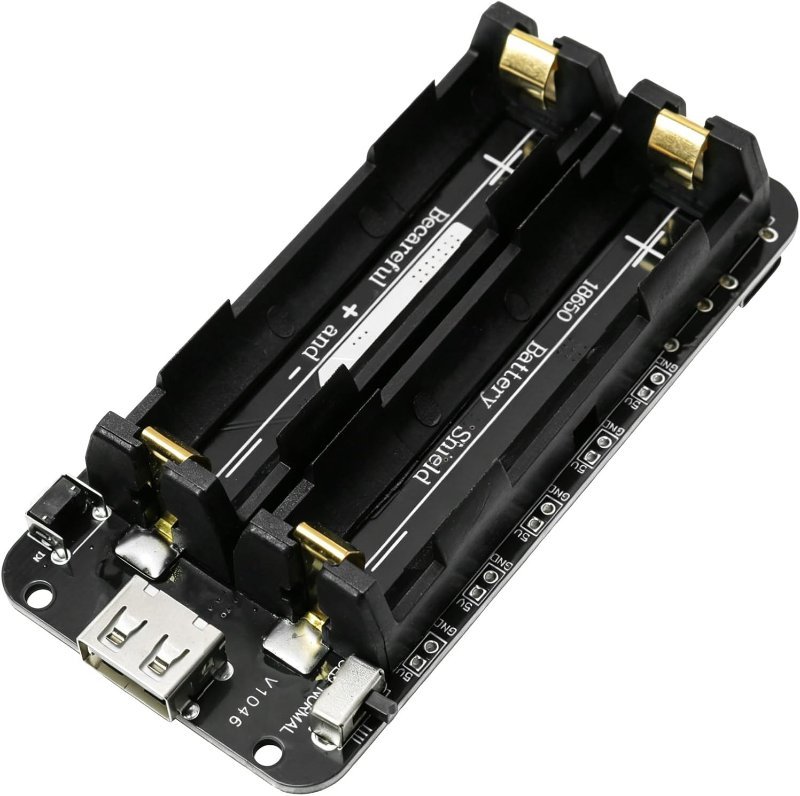
Two 18650 slots, micro-USB charging, and regulated 5 V and 3 V rails broken out to pin headers — so you skip the series pack, the spot welder, and the separate charger entirely. The 3 V rail is handy for 3.3 V parts, though check your levels first (see 5V vs. 3.3V logic). Not a motor supply; a brains-and-sensors supply.
Check Price on Amazon →One warning if you ignore the carrier and build a series 18650 pack yourself: it needs a battery management system. Cells in series discharge unevenly, and without a BMS watching each one, the first cell to go below roughly 2.5 V is permanently damaged while the pack’s total voltage still looks healthy. Loose salvaged laptop cells are also a genuinely bad starting point — you have no idea of their history, and mismatched cells in series is exactly the failure mode a BMS exists to catch.
The Voltage Math Nobody Mentions
Whatever you pick, your motor driver takes a cut before the motors see anything. An L298N drops roughly 1.4–2 V across its output transistors, so a 7.4 V pack delivers something like 5.5–6 V to the motors. That is fine if you planned for it and disappointing if you expected 7.4 V worth of speed — it is also the main argument for a MOSFET-based driver instead, which we got into in the L298N review.
And regardless of chemistry: do not run motors or servos off the Arduino’s 5 V pin. That pin comes from a small onboard regulator that was never meant to source amps, and the resulting brownouts look exactly like a software bug for hours before you figure out it is power. We have a whole post on that specific trap, plus a deeper look at voltage and current for robots.
So, Which One
- Anything with real motors that drives around: 2S LiPo. The low internal resistance is not a luxury here, it is the difference between a robot that works and one that reboots.
- A robot a beginner or a kid handles, or one that sits in a drawer for months: NiMH. Give up the weight, buy the peace of mind.
- Long-runtime, low-current ESP32 or sensor projects: 18650 on a carrier board. Cheapest watt-hours in the list, as long as nothing is stalling.
If you are reading this because you are building your first robot that moves under its own power, buy the 2S LiPo and a balance charger, and keep a cell checker in the parts bin. Everything else here is a reason to deviate from that, not a reason to start somewhere else.