You press the bumper switch on your robot once. The counter goes up by three. You press it again, and this time it works fine. Then your state machine advances two steps on a single press and the whole thing drives into a wall. Nothing in your code is wrong, exactly — the code did precisely what the pin told it to do. The pin was lying.
That lie has a name: contact bounce. Debouncing is the fix, and it is one of those topics that sounds like trivia until the first time it eats a weekend. Here is what is actually happening at the metal, why robots suffer from it worse than desk gadgets do, and the three ways to make it stop.
A switch is two pieces of springy metal slamming together
Strip away the plastic housing and a pushbutton is a thin metal dome or leaf spring that gets pushed down onto a contact pad. When those two surfaces meet, they do not politely settle into place. They collide, deform slightly, spring apart, and collide again — several times, in a few thousandths of a second, before friction and the spring force win and the contact goes quiet. The same thing happens in reverse when you let go.
To a human finger that is one clean click. To a microcontroller running a loop thousands of times per second, it is a burst of HIGH-LOW-HIGH-LOW transitions, each one a legitimate reading of what the pin voltage actually was at that instant. Your Arduino is not glitching. It is faster than the mechanics of the switch, which is a different problem entirely, and a much easier one to solve once you name it correctly.
How long does a switch actually bounce?
Long enough to matter, and far more variable than you would guess. The most widely cited bench measurement on this is Jack Ganssle’s, which ran an oscilloscope across a pile of ordinary switches: most averaged around 1.5 ms of bouncing, a couple of outliers exceeded 6.2 ms, and one specimen managed a 157 ms bounce on opening while bouncing for only about 20 microseconds on closing. Each switch had its own signature pattern.
Two things fall out of that. First, the asymmetry is real — a switch can be clean on the press and filthy on the release, so a design that only debounces one edge will work beautifully right up until it doesn’t. Second, you cannot assume a number. Some switch datasheets publish a bounce time; most hobby-grade parts do not, and a 10 ms figure is a common stand-in when a spec sheet gives you one at all. The practical ceiling people design against is roughly 1–20 ms for typical parts, with the understanding that a bad or worn switch can blow well past 100 ms.
Why this hurts robots more than it hurts desk gadgets
A bouncing button on a lamp gives you a flicker. A bouncing switch on a robot gives you a wrong decision, and robots act on their decisions with motors.
Three places it bites hardest. Bumper and limit switches: a robot driving into a wall registers the impact as four impacts, and if your code says “on bump, back up 200 ms and turn,” you get four overlapping back-up commands fighting each other. Counting: anything that increments — steps taken, revolutions, objects passed — inflates silently, and an inflated count poisons every distance estimate downstream of it. State machines: a single press that reads as three transitions can skip you clean past the state you meant to land in, which is how a robot ends up in a mode you never wrote a way out of.
Mechanical rotary encoders are the pathological case, because they are just switch contacts that open and close as you turn the shaft — bounce there shows up as an encoder that counts backwards when you turn it forwards. (Optical encoders don’t have this problem, for reasons worth understanding if you’re choosing between them — see how encoders work and why they matter for precise movement.)
The software fix is about a dozen lines
The standard approach is a timestamp, not a delay. You do not wait out the bounce; you note when the pin last changed and refuse to believe any reading until the pin has held still for long enough. The official Arduino Debounce example does exactly this, on pin 2 with the LED on pin 13, and it is worth typing out by hand once:
const int buttonPin = 2;
const int ledPin = 13;

int ledState = HIGH;
int buttonState;              // the debounced reading
int lastButtonState = LOW;    // the previous raw reading

unsigned long lastDebounceTime = 0;
unsigned long debounceDelay = 50;   // the debounce time; increase if the output flickers

void loop() {
  int reading = digitalRead(buttonPin);

  // If the switch changed, due to noise or pressing, restart the timer
  if (reading != lastButtonState) {
    lastDebounceTime = millis();
  }

  // Only act once the pin has been stable for debounceDelay
  if ((millis() - lastDebounceTime) > debounceDelay) {
    if (reading != buttonState) {
      buttonState = reading;
      if (buttonState == HIGH) {
        ledState = !ledState;
      }
    }
  }

  digitalWrite(ledPin, ledState);
  lastButtonState = reading;
}
The important detail is that lastDebounceTime gets reset on every change, including the bouncy ones. Each bounce pushes the deadline further out, so the code only commits once the noise has stopped. Note too what this sketch does not do: it never calls delay(). A delay(50) inside a button check blocks the entire loop, which on a robot means fifty milliseconds of not reading your other sensors and not updating your motors. On a two-wheeled robot that is a surprising amount of distance travelled blind. If this kind of non-blocking structure is new to you, the Arduino programming basics guide covers the loop-and-timestamp pattern in more depth.
One wiring note, because it trips people up: the official example uses pinMode(buttonPin, INPUT) with an external 10 kΩ resistor to ground, so the pin is pulled LOW until the button connects it to +5 V. If you instead use INPUT_PULLUP and switch to ground — which needs no external resistor and is what most people do — your logic inverts: pressed reads LOW. A floating input with no pull resistor at all will produce bounce-like garbage forever, which is the single most common false debouncing problem.
The parts worth having on the bench
This post contains affiliate links. If you buy through them, this site earns a commission at no extra cost to you.
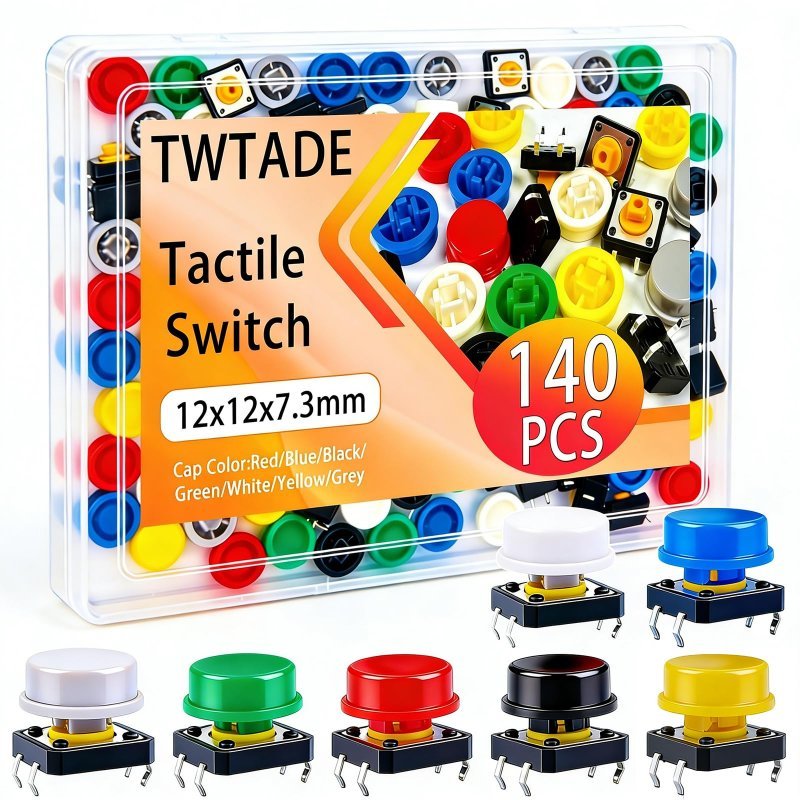
Debouncing is a thing you understand by watching it misbehave, which means you want a handful of cheap switches you can abuse rather than the one good button soldered into your project. A tactile switch assortment is the right starting point — the 12×12 mm four-pin bodies drop straight across a breadboard’s center channel, and because they come in a pile you can compare a brand-new switch against one you’ve clicked a thousand times and watch the bounce behavior drift.
Standard four-pin tactile switches with snap-on caps, in enough quantity that you stop being precious about them. Four-pin bodies are mechanically stable on a breadboard — worth knowing that the pins are internally paired, so you want diagonal corners, not adjacent ones.
Check Price on Amazon →INPUT_PULLUP, and in loop() increment a counter on every HIGH-to-LOW transition and Serial.print() it. Press the button exactly ten times and read the number — on a cheap switch it is often fifteen or twenty. Then add the fifty-millisecond timestamp check and do it again. For the ugly version, run the same counter on one channel of a KY-040 rotary encoder and turn the knob slowly: a mechanical encoder bounces on every detent, and seeing that count explode explains more about encoder debouncing than any diagram will.
Limit switches: where bounce actually breaks robots
The switch that will cost you real debugging time is not the button on your breadboard — it is the microswitch at the end of an axis or behind a bumper. These snap-action SPDT switches have a lever that trips a spring mechanism, and they bounce the same way everything else does, except now the bounce is happening at the exact moment a motor is still moving and something is flexing. An unfiltered limit switch is how a gantry overshoots its home position, and how a bumper robot decides it has hit the wall four times.
Their SPDT wiring also matters here: because they give you both a normally-open and a normally-closed terminal, the safer convention on a limit switch is to wire it normally-closed, so that a broken wire reads the same as a triggered switch instead of the same as a clear path. Debounce it, but fail it safe too.
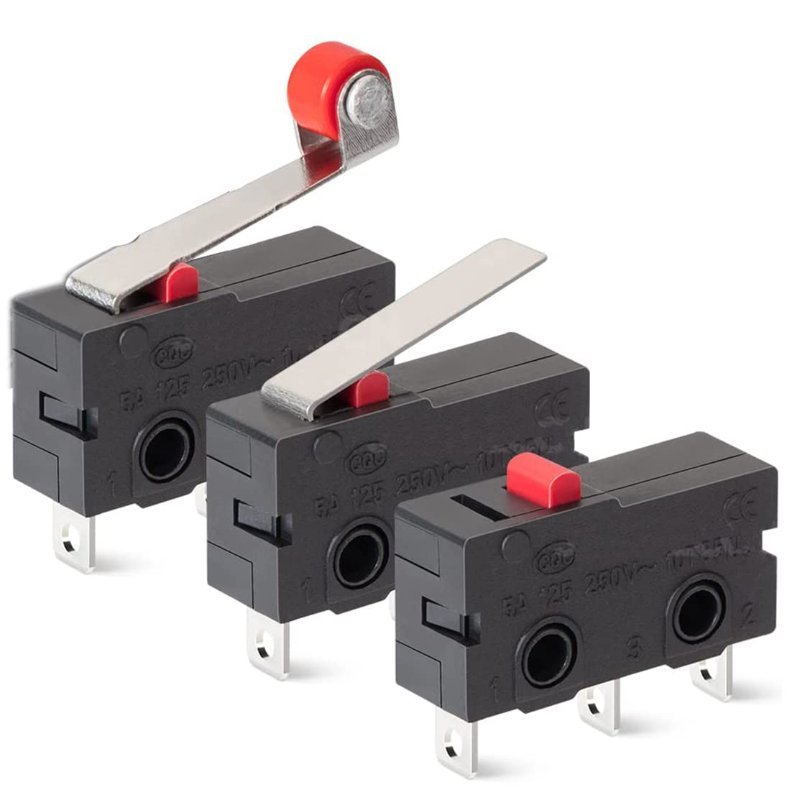
Three lever styles — roller, long arm, and plain button — which matters more than it sounds, since lever length changes both the trip force and how much the thing rattles after impact. SPDT, so you get NO and NC terminals and can wire the fail-safe direction.
Check Price on Amazon →Debouncing in hardware: a capacitor and a Schmitt trigger
Software debouncing costs nothing but code. Sometimes you want the signal clean before it ever reaches the pin — on an interrupt line, on a long cable run, or on anything that has to survive electrical noise rather than just mechanical bounce. The hardware approach is an RC low-pass filter: a resistor and capacitor that smear the sharp bouncing edges into a slow ramp. Digi-Key’s worked example uses a 1 kΩ series resistor to limit current plus a 10 kΩ resistor and a 1 µF capacitor, giving a time constant of (R1 + R2) × C1 — about 11 ms, and since a capacitor reaches 99% of its target after roughly five time constants, that settles in around 55 ms. Swapping to 47 kΩ and 220 nF is their faster alternative.
The catch is that a slow ramp is its own problem. A digital input wants a clear HIGH or a clear LOW, and the ramp spends real time in the undefined middle region between them — around 0.8 V to 2.5 V on a 5 V part — where the pin can oscillate about what it is seeing. (If “undefined middle region” is a new phrase, 5V vs. 3.3V logic levels, explained is the background.) That is what the Schmitt trigger fixes. It has hysteresis: two different thresholds, a high one to flip the output on and a lower one to flip it back, so a signal wandering around in the middle cannot make it change its mind. RC filter to slow the edge, Schmitt trigger to square it back up.
The part for this is the 74HC14, a hex Schmitt-trigger inverter — six independent triggers in one DIP-14, which means one chip debounces six switches. Do remember the “inverter” part: the output is the logical opposite of the input, so either flip the comparison in your code or run the signal through two of the six stages to get the polarity back.
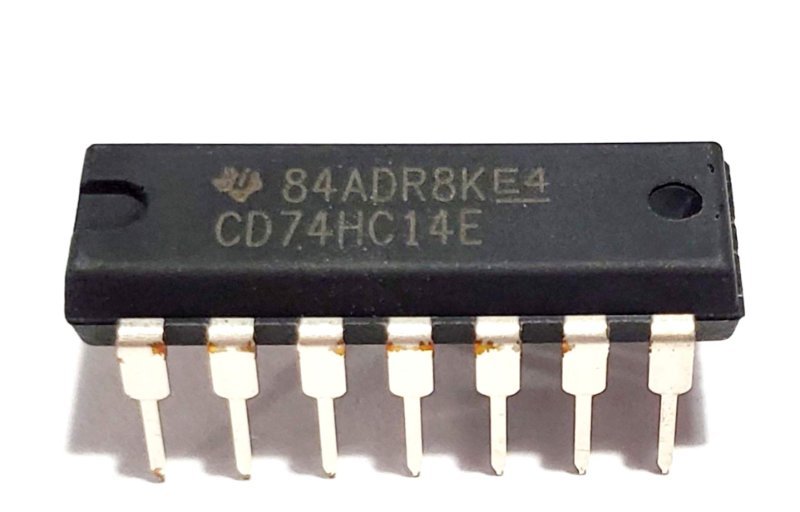
Breadboard-friendly through-hole packaging, which is the whole point — the surface-mount version of this chip is useless for prototyping. Six triggers per chip, ten chips, so you are set for every switch and noisy sensor line you will wire this year.
Check Price on Amazon →Or let a library do it
Once you have hand-rolled the timestamp version and understand it, there is no shame in reaching for Bounce2, the MIT-licensed debouncing library by Thomas Ouellet Fredericks. Its Bounce2::Button class is the one most people want: attach(pin, INPUT_PULLUP), interval(5) to set the debounce window in milliseconds, then update() once per loop and query it with pressed(), released(), fell(), or rose(). There is also currentDuration(), which tells you how long the current state has held — the clean way to implement a long-press without writing another timer.
Two things to know before you drop it in. It polls rather than using interrupts, so you must call update() exactly once per loop per object, and a blocking delay() elsewhere in your sketch will starve it. And by default it uses a stable-interval algorithm — it waits for quiet, like the Arduino example — which is the forgiving choice but adds latency. The library ships two alternatives you enable with a #define: BOUNCE_LOCK_OUT is much more responsive but does not cancel noise, and BOUNCE_WITH_PROMPT_DETECTION reports a change immediately provided the previous state had already been stable. If you are building a reaction-time game or a robot that needs to respond on the instant of impact, prompt detection is the one you want.
Picking a number
For a human pressing a button, 30–50 ms is the well-trodden range, and the Arduino example’s 50 ms is a safe default nobody will notice. Humans cannot press a button twice in 50 ms, so you lose nothing.
Machines are different, and this is where the number stops being a formality. A bumper switch on a robot moving at 30 cm/s travels 1.5 cm during a 50 ms debounce window — which is fine for a bumper and absolutely not fine for a limit switch protecting a lead screw. Rotary encoders are tighter still: too long a window and you start dropping real detents when someone spins the knob fast, which reads to the user as a dead control. The rule that actually works: start at the shortest window that kills the bounce on your specific switch (the counter test in the callout above tells you), then check that it is comfortably shorter than the fastest real event you need to catch. If those two constraints don’t both fit, the answer is hardware debouncing or a better switch, not a compromise delay.
What not to debounce
Debouncing is for mechanical contacts. Anything with no moving metal — a Hall effect sensor, an optical interrupter, an IR line sensor, a capacitive touch pad, a digital output from an I2C chip — does not bounce, and adding a 50 ms window to it just makes your robot sluggish for no reason. If one of those is giving you unstable readings, you have a noise, power, or wiring problem wearing a bounce costume, and the fixes are different ones: why your breadboard circuit isn’t working even though it looks right is the better place to start on that.
Debouncing is a small idea, and it is the kind of small idea that separates a robot that works in a demo from one that works all afternoon. Write the twelve lines, pick the window on purpose, and then forget about it — which is the whole goal.