There is a particular satisfaction in talking to a circuit you wired yourself and having it turn off the kitchen lights. Gernot Althammer’s open-source HA-ESP32-Voice-Assistant build does exactly that, and its parts list is almost insultingly short: an ESP32 dev board, a MEMS microphone the size of a fingernail, a class-D amplifier breakout, a 3 W speaker, and an addressable LED ring. Everything sits on a breadboard and talks to a Home Assistant server over Wi-Fi.
What makes it worth studying is not the parts count. It is how little the ESP32 is actually doing — and how much that changes the moment you swap one board for another.
The ESP32 is a microphone with Wi-Fi, not a brain
This is the part that surprises people. In the standard Home Assistant arrangement, the ESP32 — what the docs call a “voice satellite” — captures audio and streams it. That is the whole job. Home Assistant’s own documentation is direct about it: “the wake word detection is done inside Home Assistant.” The satellite constantly samples audio, ships it off, and the server decides whether you said the magic words.
From there the server runs a four-stage pipeline. openWakeWord listens for the trigger phrase. A speech-to-text engine transcribes what follows. Home Assistant’s conversation agent works out which device you meant and what to do to it. Then a text-to-speech engine speaks the answer back down to the ESP32, which plays it through the amplifier.
You get two real choices on the speech-to-text stage, and they trade off against each other in a way worth understanding before you build. Whisper is open-ended — it tries to transcribe anything you say, which is great until you see the clock: Home Assistant measures it at roughly 8 seconds on a Raspberry Pi 4, and under a second on an Intel NUC. Speech-to-Phrase is close-ended, meaning it only transcribes commands it already knows. That constraint buys you sub-second responses on a Pi 4 or a Home Assistant Green, at the cost of only understanding a subset of Assist’s commands. For speaking back, Piper is the standard local engine; on a Raspberry Pi its medium-quality voices generate about 1.6 seconds of audio per second of compute. All three connect to Home Assistant through the Wyoming integration.
One figure to plan around: Home Assistant notes that about five satellites can stream audio simultaneously before a Raspberry Pi 4 starts struggling. Every satellite costs server resources, because every satellite is sending a live audio stream.
The alternative is to run wake word detection on the chip itself, using ESPHome’s micro_wake_word component and the microWakeWord models (okay_nabu, hey_jarvis, and alexa are the prebuilt ones). That keeps the ESP32 silent until it actually hears something, which cuts the constant stream to your server entirely. The catch is hardware, and the build’s README does not hedge: a plain ESP32 WROOM-32 “does not have enough RAM.” You need an ESP32-S3 with PSRAM — external RAM soldered alongside the main chip, because the few hundred kilobytes built into the SoC are not enough to hold a neural wake-word model and a Wi-Fi stack at the same time.
The parts, and why each one is that part
This post contains affiliate links. If you buy through them, this site earns a commission at no extra cost to you.
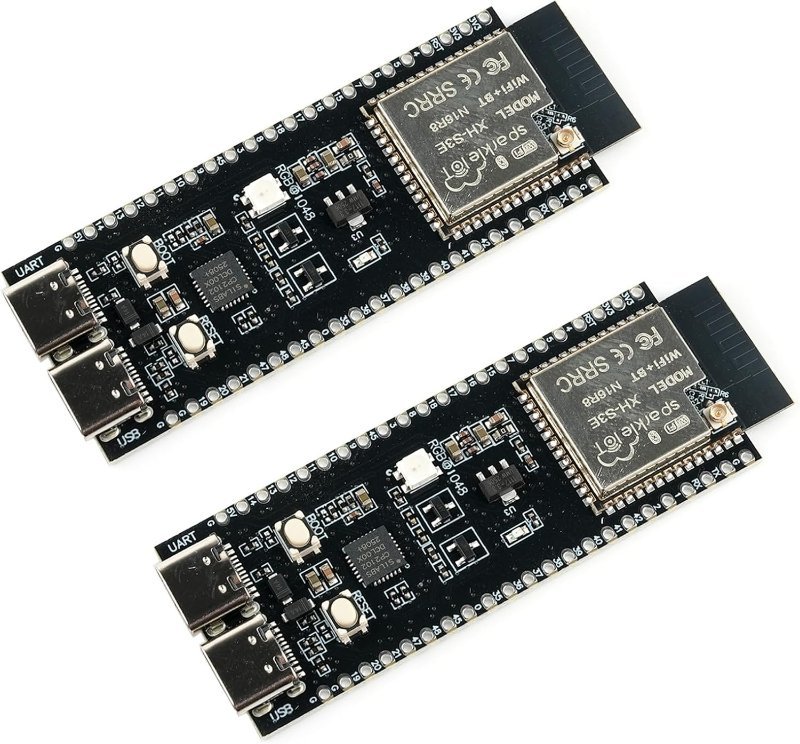
The board decides your architecture. This is the one place not to economize. The N16R8 variant of the ESP32-S3-DevKitC-1 pairs 16 MB of flash with 8 MB of PSRAM, which is what makes on-device wake word detection possible at all. Buy a WROOM-32 instead and you have committed to server-side wake word for the life of the project. The S3 also has two hardware I2S peripherals rather than one, which matters later. One configuration gotcha worth knowing up front: an N16R8 needs psram: mode: octal in ESPHome, while the N8R2 wants quad — get it wrong and the board boots but the wake word engine fails to allocate. If you want the wider field, we compared the common dev boards in our ESP32 dev board review.
16 MB flash, 8 MB PSRAM, dual-core Xtensa LX7. The PSRAM is the whole reason to pick this over a WROOM-32 — it is what lets microWakeWord run on the device instead of on your server. Two boards per pack, which is the right number when one of them is going to get miswired.
Check Price on Amazon →voice_assistant component’s own triggers — on_listening, on_stt_end, on_tts_start — giving each pipeline stage its own color. You end up with a debugger you can read from across the room: if the ring lights up but never advances past listening, your wake word fired and your speech-to-text did not.
The microphone is digital, and that is the point. The INMP441 is a MEMS microphone with an I2S interface, meaning it does its own analog-to-digital conversion on the module and hands the ESP32 finished numbers. No analog signal ever travels down a jumper wire to pick up Wi-Fi hash. It sends 24-bit samples left-aligned in 32-bit slots, which is why ESPHome configs for it specify bits_per_sample: 32bit and why hand-written I2S code shifts each sample right by 8 bits. Its clock tolerates 0.5–3.2 MHz on SCK and a 7.8–50 kHz frame rate; voice pipelines run it at 16 kHz mono. One hard rule: supply range is 1.62–3.63 V, so it goes on 3.3 V and never on 5 V. If that distinction is new to you, our guide to 5V vs. 3.3V logic levels explains why mixing them kills parts.
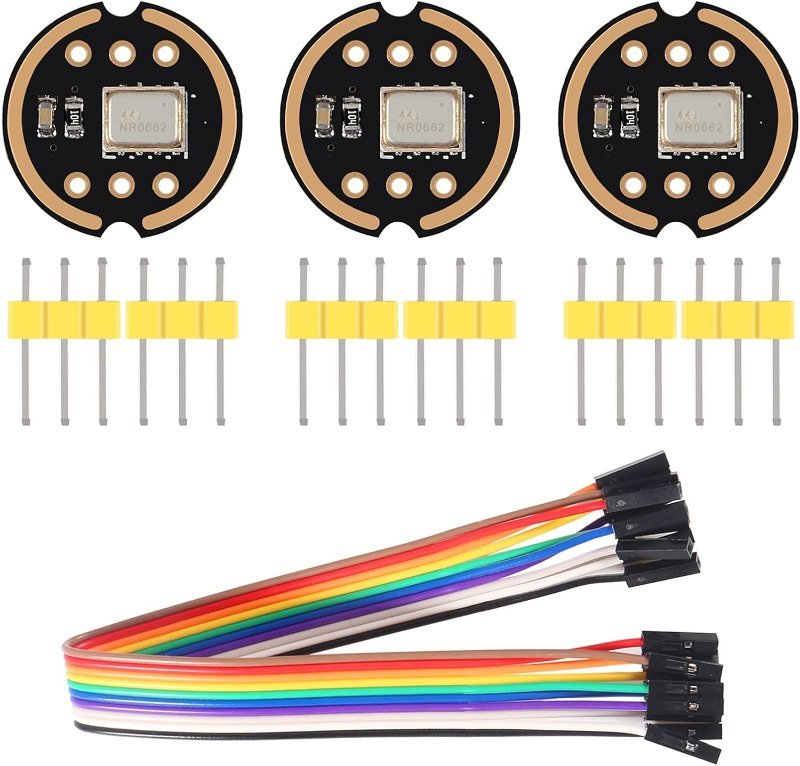
Omnidirectional, 24-bit, digital I2S out. This pack ships with female-to-female dupont cables, which matters more than it sounds — the module comes with a header you will be jumping to six separate pins, and hunting for cables mid-build is how projects stall.
Check Price on Amazon →The amplifier closes the loop. The MAX98357A takes the same kind of I2S stream the microphone produces, converts it back to analog, and drives a speaker directly as a class-D amplifier — roughly 3 W into a 4 Ω load. It runs on 2.7–5.5 V, and the build’s README recommends feeding it from 5 V specifically because it runs quieter there. Leave its GAIN pin floating and you get the default 9 dB; boards that break gain out to a selectable range let you trim it if your speaker is too loud or too timid.
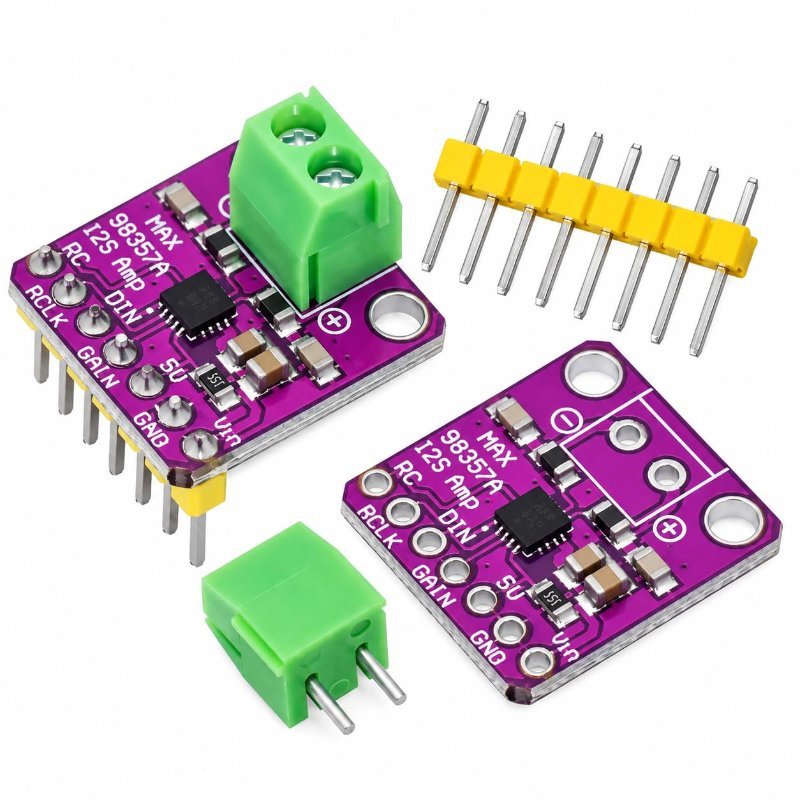
I2S in, speaker wires out, no DAC board in between. This version breaks the gain setting out across a 3–15 dB range instead of leaving you with the fixed 9 dB default, which is the difference between a speaker you can live with and one you turn away from the wall.
Check Price on Amazon →The wiring trick: one bus, two devices, shared clocks
I2S is a three-wire audio bus: a bit clock that ticks once per bit, a word-select line that flips to mark which channel the current sample belongs to, and a data line. The elegant bit of this build is that the microphone and the amplifier share both clocks. They are running at the same sample rate anyway, so there is no reason to generate it twice — only the data lines differ, one going in and one going out.
INMP441 (microphone)        MAX98357A (amplifier)
  VDD  -> 3.3V                VIN  -> 5V
  GND  -> GND                 GND  -> GND
  SD   -> GPIO 23  (data in)  DIN  -> GPIO 22  (data out)
  WS   -> GPIO 25  ---------- LRC  -> GPIO 25   shared
  SCK  -> GPIO 26  ---------- BCLK -> GPIO 26   shared
  L/R  -> GND                 GAIN -> floating (9 dB)
That L/R pin on the microphone is a channel selector, and leaving it floating is the single most common way to get a stream of garbage. Tie it low and the module writes into the left slot; read the right slot instead and you get nothing but zeros. Match it with channel: left in your ESPHome microphone config.
Sharing one bus does have a cost. If you hear hiss from the speaker or crosstalk between the two, the fix is to split them onto separate I2S buses — which needs a second set of clock pins, and is the other reason the README leans toward the ESP32-S3: it has two hardware I2S peripherals to hand out.
Once wired, the ESPHome side is shorter than the wiring diagram:
voice_assistant:
  microphone: inmp441_mic
  speaker: max98357_speaker
  micro_wake_word: wake_word_engine
  noise_suppression_level: 2   # 0 (off) to 4 (max)
  auto_gain: 31dBFS            # 0dBFS to 31dBFS
  volume_multiplier: 4.0       # software boost for quiet mics
Those last three lines are your tuning budget, and you will spend all of it. MEMS microphones on a breadboard are quiet, so volume_multiplier and auto_gain exist to claw back signal; noise_suppression_level trades a little voice fidelity for a lot less room hum.
The wall you will hit: echo cancellation
Here is the limitation that separates this from a commercial smart speaker, and the README states it plainly: echo cancellation is not supported on the ESP32 or ESP32-S3 without a dedicated DSP chip such as an XMOS part. In practice that means your microphone hears your own speaker. Turn the volume up and the assistant’s spoken reply can retrigger its own wake word, or drown out the command you tried to give while it was still talking.
There is no software fix, only mitigation: keep the volume moderate, point the speaker away from the microphone, physically separate them on the board, and raise noise_suppression_level. Commercial speakers solve this with a dedicated echo-cancellation DSP and a microphone array, and that gap is most of what the price difference buys.
Two smaller constraints worth knowing before you order parts. The build disables Bluetooth in its YAML outright, to free up RAM for wake word detection — audio components are RAM-hungry and ESPHome’s own docs warn that Bluetooth components cause problems alongside the voice assistant. And playing music and running the voice assistant on the same device needs an ESP32-S3 plus a separate media player component, not this basic configuration.
If you would rather not wire anything
Home Assistant publishes a “$13 voice assistant” guide built on the M5Stack ATOM Echo, and it is a legitimately good shortcut. You plug the device into USB-C, click Connect in a Chromium-based desktop browser, pick “Install Voice Assistant,” hand it a 2.4 GHz Wi-Fi password, and adopt it into Home Assistant. No soldering, no pin mapping, no I2S. The LED walks you through the pipeline: blinking blue once it hears the wake word, pulsing while you talk, green when the intent lands. It needs Home Assistant 2023.10 or later and an Assist pipeline configured.
It also teaches you nothing. That is the honest trade. The ATOM Echo is a sealed box that streams audio; the breadboard version is a bus you can probe, a mic you can swap, and a clock you can move to a different pin when something hisses. If your goal is a working voice assistant in your kitchen tonight, buy the Echo. If your goal is understanding how one works — which is the only reason to read this far — build the breadboard.
One last thing worth sitting with: nothing in this project needs a cloud account. The wake word, the transcription, the intent, and the voice all run on hardware in your house. That is unusual enough among voice assistants to be the real reason this build keeps getting cloned. If you are still deciding what should run the server side of it, our comparison of Arduino vs. Raspberry Pi covers why the ESP32 handles the microphone and a Pi handles the thinking.