Breadboard, perfboard, and PCB get framed as three competing ways to build a circuit. They are not. They are three stages of the same circuit’s life, and the only real question is which stage yours is in right now. A breadboard is for the version you are still arguing with. Perfboard is for the version that works and needs to stop living on your desk. A fabricated PCB is for the version that is finished and needs to exist more than once.
Most beginners get stuck at stage one forever. The project works, the breadboard stays on the bench, and six weeks later somebody knocks a jumper loose and the whole thing is gone. Knowing when to graduate a circuit off the breadboard is the difference between having built something and having demonstrated something.
The Breadboard: Fast, Reversible, and Quietly Lying to You
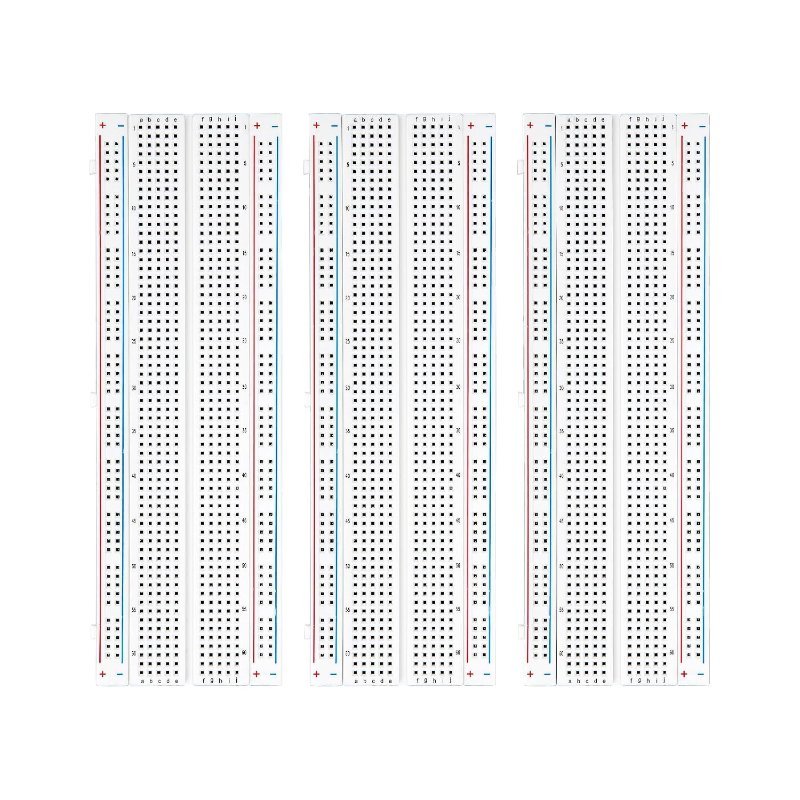
A solderless breadboard is a plastic grid of spring clips on a 2.54 mm (0.1 inch) pitch — the same spacing as the pins on almost every through-hole chip and header you will ever buy. Rows of five holes are internally connected, the long strips down the edges are power rails, and the channel down the middle exists so a DIP chip can straddle it without shorting its two pin rows together. On a standard 830-point board, 630 of those tie points are the main component area and two 100-point distribution strips supply four power rails.
What nobody tells beginners is how much the breadboard changes your circuit’s behavior. Every one of those spring clips adds somewhere between 2 and 25 pF of stray capacitance — meaning each connection behaves a little like a tiny capacitor you never asked for, storing and releasing charge and smearing out fast signals. Worse, the value is unpredictable, and pulling a lead out and reseating it can change it measurably. Contact resistance starts around 10 mΩ on a fresh board and climbs as the clips wear out. In practice that means breadboards stop being trustworthy above roughly 10 MHz, and the current limit is far lower than the 36V/2A printed on the packaging — plan on staying under about 1 A, and closer to 500 mA if you want the clips to survive.
None of that matters for the work a breadboard is actually good at: sensors, logic, LEDs, anything running at Arduino speeds while you are still deciding what pin goes where. Use it for every circuit you have not finalized, and buy a multipack, because leaving a working prototype intact while you start the next one is worth more than the four dollars you save.
This post contains affiliate links. If you buy through them, this site earns a commission at no extra cost to you.
830 tie points, four power rails, side clips so you can gang boards together, and adhesive backs for mounting to a chassis. Three of them means you never have to tear down a working circuit to start the next one.
Check Price on Amazon →Perfboard: The Cheapest Way to Make Something Permanent
Perfboard is a rigid FR4 sheet drilled on that same 0.1 inch grid, with a copper pad ringing each hole. The pads are electrically isolated from each other — there are no traces. You solder the component in and then make every single connection yourself, either by bridging adjacent pads with solder, laying a bare wire across the back, or running insulated wire point to point.
Its close cousin is stripboard, also called Veroboard, where continuous copper strips run the length of the board in one direction. That gets you pre-made connections and much faster assembly, at the cost of having to design your layout around the strips and physically cut them wherever you need a break. Perfboard gives you total freedom and total responsibility; stripboard trades some freedom for speed. For beginners transferring an Arduino circuit, perfboard is the easier mental model, because it maps one-to-one onto what you already built on the breadboard.
Buy double-sided boards with through-plated holes. The plating means the pad is anchored through the board rather than just glued to one face, so it will not lift and tear off the first time you have to desolder a mistake — and you will have to desolder a mistake. This is the honest downside of perfboard: fixing an error costs real effort, and the finished thing looks handmade. It is also under a dollar a board, needs no lead time, and survives being carried around in a backpack, which the breadboard version emphatically does not.
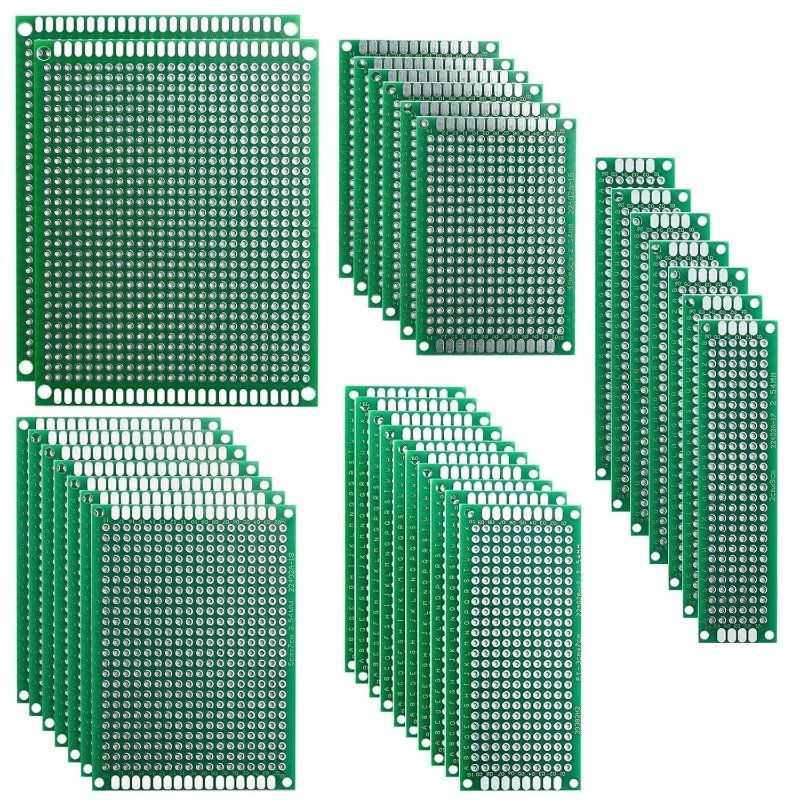
Five board sizes, double-sided with plated through-holes, standard 2.54 mm grid. Thirty-two boards is enough that you can afford to botch a layout and start over instead of nursing a bad one.
Check Price on Amazon →A Fabricated PCB: When the Design Stops Changing
A real printed circuit board is the one stage you do not buy on Amazon. You draw the schematic and lay out the copper in software — KiCad is free and is what most hobbyists land on — export the manufacturing files, and send them to a fab house. The prices are lower than people expect: JLCPCB runs two-layer boards under 100 × 100 mm at around $2 for five copies, and PCBWay starts near $5. The real cost is time. Every revision means another order and another shipping wait, which is exactly why you do not go to PCB until the design has stopped moving.
Go to a fabricated board when you need more than two or three identical copies, when the thing has to survive vibration or years of use, when you are drawing enough current that hand-wiring gets sketchy, or when those breadboard parasitics from earlier actually matter — precision analog, anything fast, anything where a stray 20 pF changes the answer. If none of those apply and you just want one permanent copy of a working circuit, perfboard is the correct answer and a PCB order is procrastination with a tracking number.
There is a useful middle ground worth knowing about: a proto shield. It is a perfboard cut to the Arduino Uno footprint with the headers already positioned, so your soldered circuit stacks straight onto the board instead of dangling off it on jumper wires. You get the permanence of perfboard and the tidy form factor of a custom board, without opening a CAD tool.
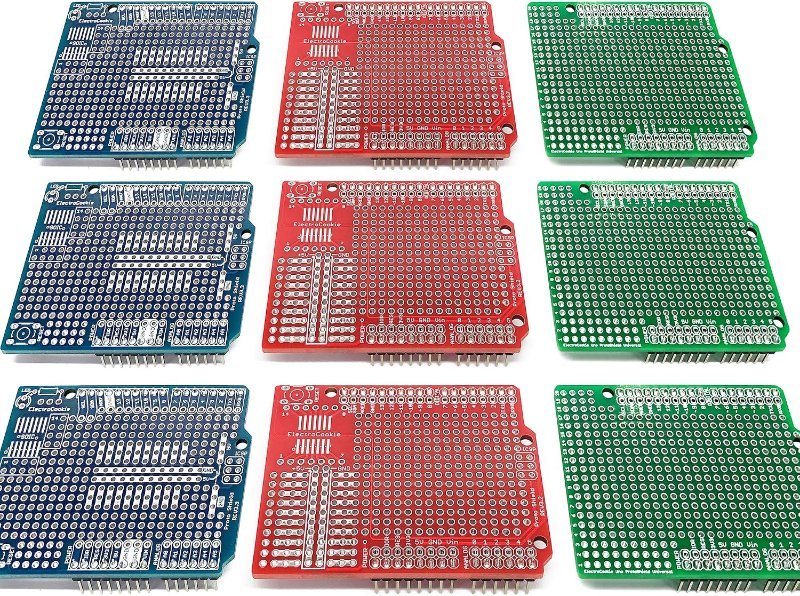
Three layout types across nine boards, 1.6 mm FR4 with plated through-holes, cut to the Uno footprint (68.6 × 53.3 mm). The fastest way to turn a breadboard circuit into something that stacks on the board and stays put.
Check Price on Amazon →How to Actually Decide
Strip away the theory and it comes down to four questions:
- Are you still changing the circuit? Breadboard. Every time. Do not solder a design you are still arguing with.
- Does it work, and do you want one permanent copy? Perfboard, or a proto shield if it is Uno-shaped.
- Are motors or anything over an amp involved? Keep the power path off the breadboard entirely, regardless of what stage you are in — those spring clips were never meant to carry it. Route motor current through a proper driver instead; how motor drivers actually work covers why.
- Do you need several identical copies, or is the design done? Time to lay out a real board.
One thing that carries across all three stages: mixing parts that run at different voltages will bite you the same way on a breadboard, on perfboard, and on a $2 fabricated board, because it is a design problem and not a construction problem. If your project has a 5V board talking to a 3.3V one, sort that out before you commit anything to solder — 5V vs. 3.3V logic levels, explained walks through it.
The honest advice: own a stack of breadboards and a stack of perfboard, and put off learning PCB layout until you have an actual design that has earned it. Almost nobody’s first twenty projects need a fabricated board. Almost everybody’s first twenty projects deserve to survive longer than the next time somebody bumps the desk.