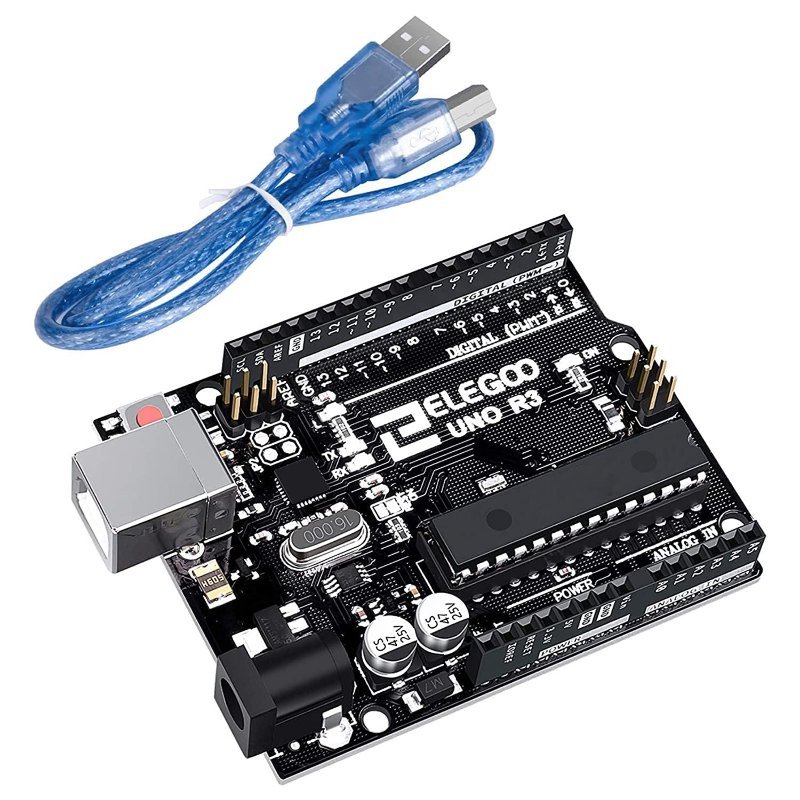
This question gets answered badly all the time, usually as “the Nano is a smaller Uno.” That’s not wrong exactly, but it hides the part that actually decides which one you should own first. The two boards run identical code. What separates them is physical — how you connect wires to them, how you power them, and what happens the first time you plug one in.
Under the Hood, They’re the Same Board
Both boards are built around the ATmega328P, an 8-bit microcontroller running at 16 MHz with 32 KB of flash memory (where your compiled program lives), 2 KB of SRAM (working memory for variables while the program runs), and 1 KB of EEPROM (a small block of storage that survives a power cycle). Same chip, same speed, same memory. A sketch that compiles for one compiles for the other, and every library that works on an Uno works on a Nano.
There is one asterisk, and it’s small: the bootloader. That’s the bit of code permanently installed on the chip that listens for a new sketch over USB when the board resets. The Uno’s bootloader takes about 0.5 KB of that 32 KB; the classic Nano’s takes 2 KB. So you get roughly 1.5 KB less room for your own program on a Nano. For a beginner project you will not notice this. For a sketch stuffing in a display library and a WiFi library, you might.
Where They Actually Diverge
Size. The Uno is 68.6 × 53.4 mm — roughly a credit card with a barrel jack sticking out. The Nano is 45 × 18 mm and weighs about seven grams. That’s not a marginal difference; the Nano is small enough to hide inside a project enclosure, and the Uno mostly isn’t.
Analog pins. The Uno breaks out 6 analog inputs (A0–A5). The Nano breaks out 8 (A0–A7). But A6 and A7 on the Nano are wired straight to the chip’s analog-to-digital converter — the circuit that turns a voltage into a number your code can read — with no digital port behind them. You can call analogRead(A6), but digitalWrite(A6, HIGH) does nothing. If you plan a project around eight general-purpose pins, you’ll find out the hard way at 11pm.
Digital and PWM pins are identical: 14 digital I/O on each, 6 of which do PWM. PWM (pulse-width modulation) is how these boards fake an analog output — the pin switches between 0 V and 5 V thousands of times a second, and by varying how much of each cycle is spent HIGH, an LED dims or a motor slows down. Neither board has an advantage here.
Power. The Uno has a 2.1 mm barrel jack and an onboard regulator rated for 7–12 V input. Feed it less than 7 V and the 5 V rail sags; feed it more than 12 V and the regulator cooks. The Nano has no jack — you get a VIN pin (same 7–12 V range) or a regulated 5 V pin, and the board automatically selects the highest available source. Practically: the Uno takes a wall adapter out of the box, the Nano wants you to wire power in yourself.
The USB chip — this is the one that bites beginners. Neither board talks USB natively; a separate chip translates USB into the serial data the ATmega328P understands. The Uno R3 (and good clones of it) uses an ATmega16U2, which every modern OS recognizes with no driver install. Almost every Nano you can buy today uses a CH340 instead, which is cheaper and needs its driver installed manually on Windows and often macOS. It works fine once installed. It’s just an extra step, on a smaller board, at the exact moment you’re least equipped to tell “bad driver” apart from “dead board.” If your board isn’t showing up at all, we wrote a full walkthrough for that.
Headers. The Uno has female headers on top: jumper wires push straight in, and shields stack on. The Nano has male pins pointing down, designed to straddle the center channel of a breadboard so all its pins land in separate rows. And many Nano listings ship the headers loose — you solder them on yourself before the board is usable.
The Question Behind the Question
Every real difference above comes back to one thing: are you still figuring out the circuit, or have you already figured it out and now want it to live somewhere permanently?
While you’re learning, you rewire constantly. You pull a jumper, probe a pin with a multimeter, plug the same sensor into three different pins to see what changes. Female headers and a board you can rest your hand on make all of that easy. A Nano plugged into a breadboard has its pins buried under the board itself, which is exactly where you can’t reach them with a probe.
Once the circuit works, the calculus flips completely. Nothing about an Uno wants to be sealed inside a 3D-printed case on a shelf, and Nanos cost a fraction as much, so leaving one permanently installed in a finished project stops feeling wasteful. That’s the actual buying sequence: Uno to learn on, Nanos to deploy.
What to Actually Buy
This post contains affiliate links. If you buy through them, this site earns a commission at no extra cost to you.
Buy the Uno first. The ELEGOO UNO R3 is the clone worth getting — it’s a straight ATmega328P board with the 16U2 USB chip rather than a CH340, so it enumerates on your computer without a driver hunt, and it ships with the USB-B cable, which is not a cable most people already own. Everything else about it matches a genuine Uno electrically, including the header spacing that shields rely on.
The learning board. Female headers, barrel jack, 16U2 USB chip that needs no driver install, and a cable in the box. Shield-compatible with genuine Uno hardware.
Check Price on Amazon →Add Nanos when you have a working project you want to make permanent — and buy them in a multi-pack, because you will. The ELEGOO Nano V3.0 three-pack is the sane version of this purchase: ATmega328P with the CH340 chip (install the driver once and forget it), 8 analog inputs, and loose headers so you can choose whether to solder pins on or wire directly to the pads. Two caveats worth knowing before you order: no USB cable is included — these use Mini-B, an older connector you probably don’t have lying around — and “loose headers” means a soldering iron is part of the deal.
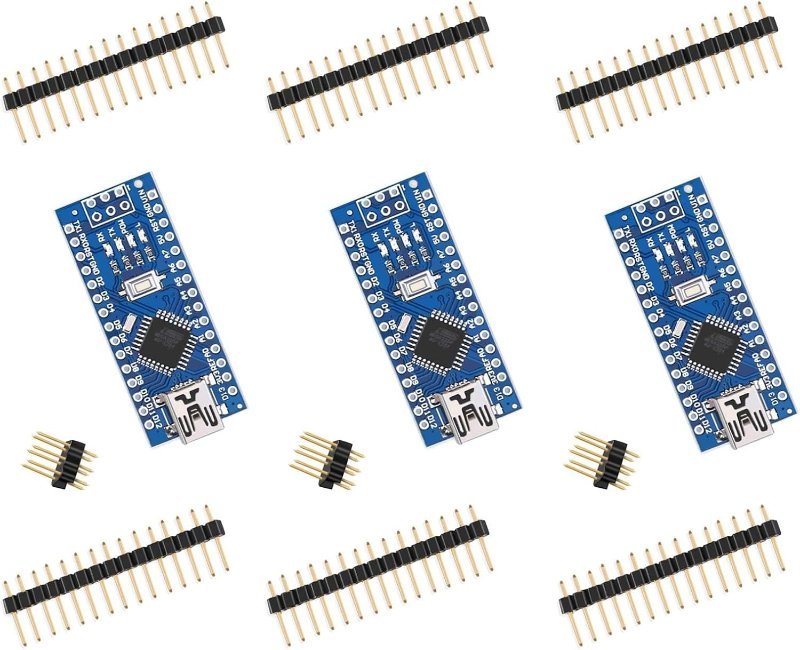
Same chip, a fraction of the footprint. Breadboard-straddling pin layout, 8 analog inputs, loose headers. No cable included — you’ll need a Mini-B USB cable and a one-time CH340 driver install.
Check Price on Amazon →One More Thing Before You Order
Both of these are 5 V logic boards, which is fine for classic sensors and modules but matters the moment you wire up something modern — a lot of current sensors and displays run at 3.3 V and don’t tolerate 5 V on their signal pins. If that’s where your project is headed, read our breakdown of 5V vs. 3.3V logic levels before you connect anything, and consider whether an ESP32 belongs in the conversation — we compared all three in Arduino Uno vs. Nano vs. ESP32.
But if you’re buying your first board and just want the answer: get the Uno. Learn on the thing that’s hardest to break and easiest to probe. The Nanos will make a lot more sense in three months, when you have a project that deserves one.