Every Arduino tutorial assumes you already have the IDE installed, a board talking to your computer, and a working sense of what “upload” actually does. This is the step before all of that — the one every guide skips because it’s boring, but that quietly causes most of the “nothing works” frustration beginners run into in their first hour.
What You’re Actually Installing
Go to arduino.cc/en/software and get the current Arduino IDE for your OS — the free, official download, not a random third-party fork. The IDE itself is really two things bundled together: a text editor for writing “sketches” (Arduino’s name for a program file, always ending in .ino), and a toolchain that translates that code into instructions the board’s chip can actually run and sends them over. Understanding that second half matters, because it explains almost every setup problem you’ll hit.
What “Compile” and “Upload” Actually Do
Your sketch is written in a C++ dialect, but the chip on your board can’t run C++ directly — it only executes raw machine instructions specific to its own processor. Clicking “Verify” compiles your sketch: it translates your code into that machine-instruction format and checks for errors along the way, entirely on your computer, without touching the board at all. Clicking “Upload” does that same compile step, then sends the resulting instructions over USB to a small program already living on the chip called a bootloader, whose only job is to receive incoming code and write it into the chip’s memory, replacing whatever sketch was there before. This is also why board selection matters so much: the compiler has to target the exact chip on your board, because the machine instructions for one chip family are gibberish to another.
Get a Board You Can Actually Test With
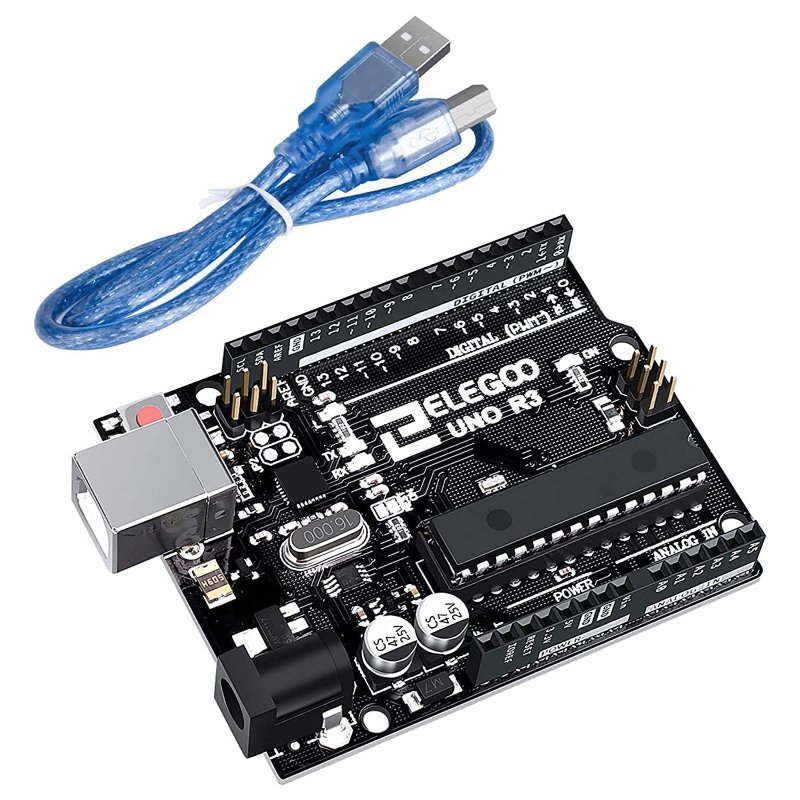
You need real hardware to confirm any of this is working — there’s no meaningful way to “practice” Arduino without a board plugged in. For a first board, get an Uno or an Uno-compatible clone: it’s what the overwhelming majority of beginner tutorials, forum answers, and troubleshooting guides assume you’re using, which matters more than any spec difference between boards at this stage.
This post contains affiliate links. If you buy through them, this site earns a commission at no extra cost to you.
A reliable, well-documented Uno clone. The safe default for a first board — matches what nearly every tutorial you’ll read assumes you own.
Check Price on Amazon →Selecting the Right Board and Port
In the IDE, go to Tools → Board and pick your exact board (Arduino Uno, for the board above). This tells the compiler which chip’s instruction set to target — get it wrong and you’ll either get upload errors or, worse, a sketch that uploads but behaves incorrectly because pin numbering or timing assumptions don’t match your actual hardware. Then go to Tools → Port and select the port that corresponds to your board; on most systems it’ll be labeled with “Arduino” or “USB Serial” plus a port number. If you’re not sure which one is yours, unplug the board, check which port disappears from the list, and plug it back in.
Run the Blink Sketch Before You Do Anything Else
Open File → Examples → 01.Basics → Blink and click Upload. If the onboard LED starts blinking once a second, your board, drivers, and IDE configuration are all confirmed working — which means any problem you hit in a later project is about that project’s specific code or wiring, not your setup. Skipping this check is the single most common reason beginners waste an evening debugging a wiring problem that was actually a setup problem the whole time.