Sooner or later, every Arduino project outgrows the breadboard. You build something that works, you want it to keep working when you carry it across the room, and you discover that jumper wires pressed into spring clips are held in place mostly by optimism. That’s the moment you need to solder — and it’s also the moment most beginners buy the wrong iron.
The wrong iron is usually a $9 fixed-temperature stick from the hardware store. It has no thermostat, no display, and no idea how hot it is. It heats until it stops heating, which for a lot of cheap irons means somewhere north of 400°C, and then it dumps that heat into whatever you touch. The result is lifted copper pads, melted connector housings, and cold joints that look fine and fail three weeks later. Bad soldering is almost never a skill problem for beginners. It’s a heat control problem.
The one spec that actually matters: adjustable temperature
Solder has a melting point, and which solder you’re using changes what your iron needs to do. Traditional leaded solder (63/37 tin-lead) melts at 183°C, and most people run their tip around 315–340°C to work with it comfortably. Lead-free solder — typically Sn99.3/Cu0.7 — doesn’t melt until about 217°C, and needs a tip temperature closer to 350–370°C to flow properly and wet the pad.
That’s a 50-degree spread between two things you might reasonably have on your bench, which is exactly why a fixed-temperature iron is a bad tool. Set too low and the solder never fully flows — you get a dull, blobby joint sitting on top of the pad instead of bonded to it. That’s a cold joint, and it’s the single most common reason a hand-soldered Arduino shield works on the bench and dies in the field. Set too high and you cook the component, boil the flux out of the solder before it can do its job, and risk delaminating the copper trace off the board.
The working rule is simple: use the lowest temperature that lets you make a clean, shiny joint in about two to three seconds. If you’re sitting on the joint for six seconds waiting for something to happen, turn it up. If the flux is smoking violently the instant you touch down, turn it down.
Wattage isn’t power — it’s recovery
The other number on the box is wattage, and it gets misread constantly. A 60W iron doesn’t run hotter than a 30W iron. Both are held at whatever temperature you set. What wattage buys you is thermal recovery — how fast the iron replaces the heat it just dumped into a joint.
Touch a cold copper pad with a tip and heat rushes out of the tip into the board. A weak iron sags 40 or 50 degrees below its setpoint and takes several seconds to climb back. During those seconds you’re sitting on the joint, dumping heat into the component you’re trying not to cook. A 60W iron recovers almost immediately, so you’re on and off the pad before anything downstream notices. For Arduino work — header pins, screw terminals, motor driver leads, the occasional connector soldered to a ground plane —40 to 60W is the range that works. Below that you’ll fight ground planes forever. Above 80W you’re buying headroom for sheet metal work you’ll never do.
Tip shape: skip the needle point
Nearly every kit ships with a fine conical tip mounted, and nearly every beginner leaves it there. It’s the wrong default. A needle point has almost no surface area touching the pad, so heat transfers slowly, which pushes you toward cranking the temperature up to compensate — the exact behavior you’re trying to avoid.
Put a small chisel tip on instead, something in the 1.5–2.4mm range. The flat face makes contact with both the component lead and the pad at once, transfers heat fast at a lower setpoint, and holds a small bead of solder that helps bridge the gap. It’s the standard workhorse tip for through-hole soldering for a reason. Save the conical for genuinely tiny surface-mount work, and even then a lot of people reach for a chisel anyway.
What to actually buy
This post contains affiliate links. If you buy through them, this site earns a commission at no extra cost to you.
If you’re testing whether you even like this: a pencil-style adjustable iron is fine as a first purchase, as long as it’s genuinely adjustable rather than “adjustable” in the marketing sense. This 60W kit covers 200–450°C with a ceramic heating element, ships with five interchangeable tips including chisel shapes, and comes with a stand, solder, and desoldering braid. The stand is flimsy and the temperature dial isn’t calibrated against anything, so treat the numbers as approximate and dial in by watching how the solder behaves. But it will teach you to solder, and it costs about what one ruined Arduino costs.
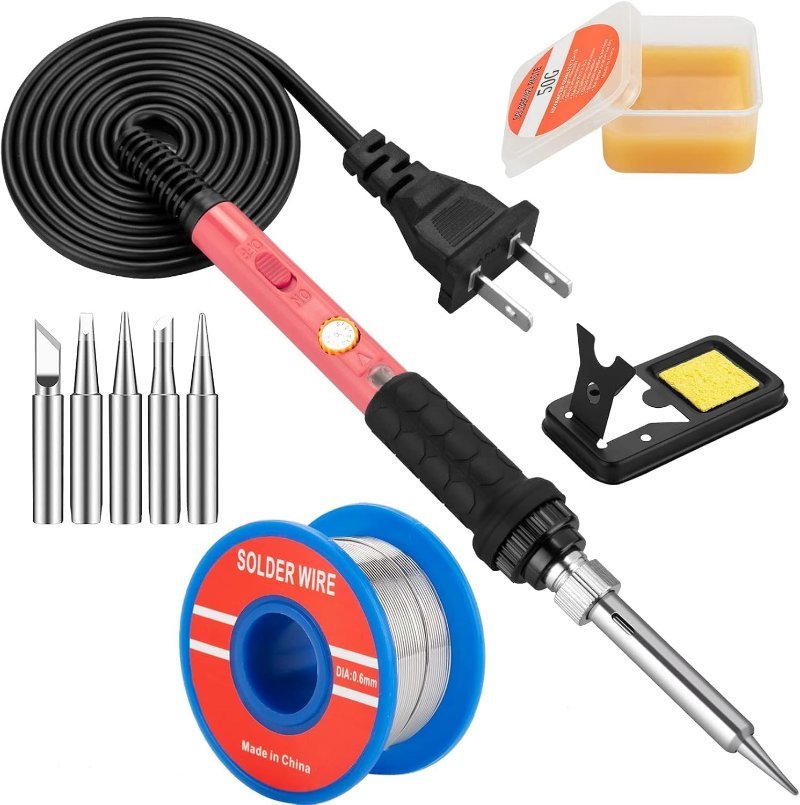
200–450°C ceramic-heater pencil iron with 5 tips, stand, solder, and braid. Uncalibrated dial, but real temperature control for the price of a takeout dinner.
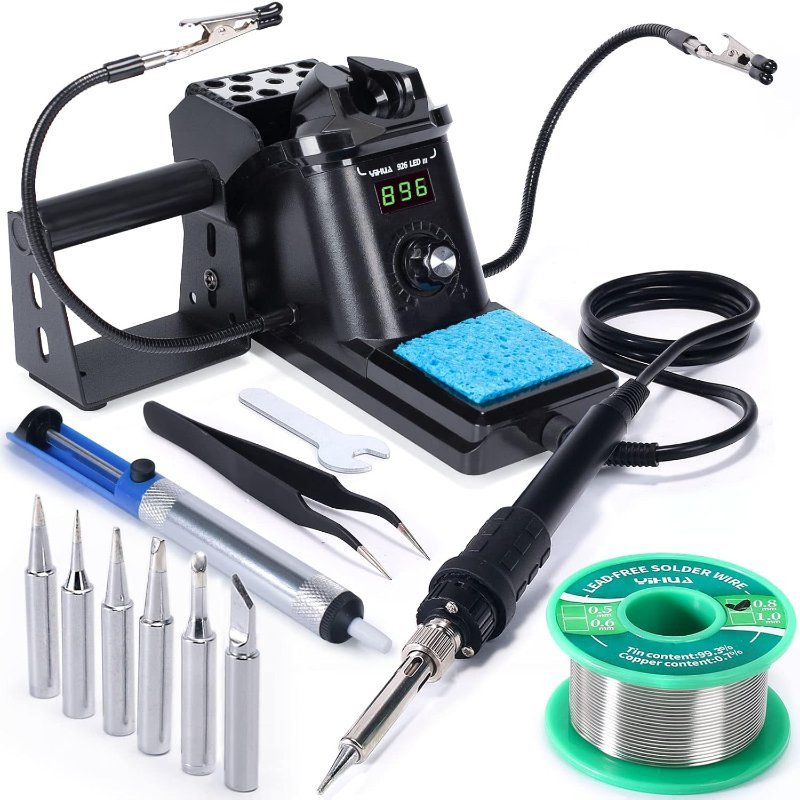
Check Price on Amazon →The one most people should buy: a station. Not because it’s fancier, but because the physical arrangement fixes the two things that make beginners bad at soldering. A station puts the temperature readout on a display in front of you instead of a mystery dial on the handle, and it gives you a heavy iron cradle that doesn’t tip over. The YIHUA 926 III is the sensible version of this: 60W, digital display, a real 194–896°F range, auto-sleep when you set the iron down, and calibration support so the number on the screen can be made to mean something. It also arrives with six extra tips, helping hands, tweezers, and a solder sucker, which is most of the rest of a soldering bench.
Digital readout, calibration support, auto-sleep, weighted iron cradle, plus 6 tips, helping hands, tweezers, and a solder sucker. The one to buy if you’re only buying once this year.
Check Price on Amazon →If you already know you’re not going to stop: the Hakko FX-888DX is the iron people buy once and then own for fifteen years. What you’re paying for isn’t features — it’s a genuinely excellent heating element with fast recovery, tips that stay wettable instead of oxidizing into uselessness after a month, and an ecosystem of replacement tips and parts that will still exist in a decade. The rotary encoder interface on the DX is a real improvement over the old FX-888D’s button-mashing menu. It’s overkill for blinking an LED and completely correct if you’re building boards regularly.
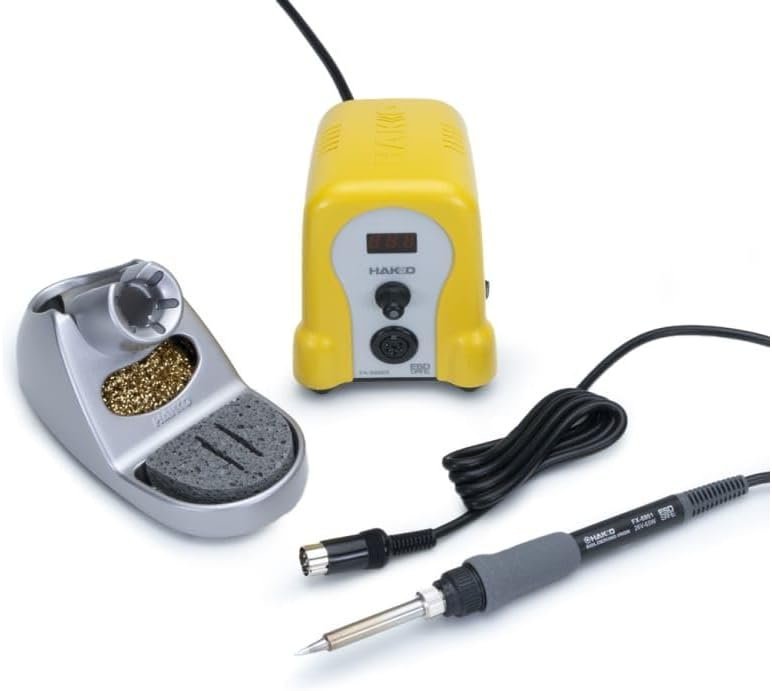
The bench standard. Fast thermal recovery, long-lived tips, rotary-encoder controls, and a parts supply that outlives most hobbies. Overkill until it isn’t.
Check Price on Amazon →Two things nobody tells you
Tin the tip, always. A bare copper-plated tip oxidizes the moment it’s hot and stops accepting solder entirely — at which point it can’t transfer heat and people conclude their iron is broken. Melt a little solder onto the tip before you start, wipe it on a damp sponge or brass wool as you go, and leave a coat of solder on it before you power down. A tinned tip lasts months. An untinned one is dead in a week.
Heat the joint, not the solder. The instinct is to melt solder on the tip and dab it onto the pad. That produces a lump of metal sitting on top of a cold pad with no bond underneath. The correct move is to touch the tip so it contacts both the pad and the component lead, count about a second, then feed solder into the joint — not onto the iron. The heat comes from the board, the solder flows into it, and you get a shiny concave fillet instead of a ball.
One last piece of setup advice: ventilate. What rises off a solder joint is vaporized flux, not lead, and it’s a genuine respiratory irritant. Crack a window, or put a small fan beside your bench blowing the smoke sideways past you rather than into your face. That’s the entire safety briefing.
Buy the station. Put a chisel tip on it. Set it to 340°C and go make something that survives being picked up.